
Start with the temperature profile, not the artwork
Before you approve any print run, map the full journey of the pack. A carton for frozen foods leaving Jacobs, crossing Durban humidity and then moving inland to Johannesburg will face very different conditions from a chiller pack staying in coastal distribution. Decide the lowest and highest temperatures, how long the pack sits in stores or cold rooms, and whether there will be condensation when it comes out of refrigeration.
That profile tells you whether a thermochromic effect is meant to act as a warning, a handling cue, or a visual check for temperature abuse. It also helps with substrate choice, because some boards and films take ink differently once moisture gets involved. If the pack will be packed by hand, stacked in cold rooms, or handled with gloved hands, set those rules early and test against them.
- Record expected storage temperature and transit temperature separately
- Note dwell time in cold rooms, depots and retail fridges
- Allow for condensation during loading and unloading
- Check whether the pack needs a colour change before use, during display, or after a threshold is crossed
Choose a print system that can live with moisture
In cold distribution, moisture is often the first problem. Board can soften, labels can lift, and certain coatings can haze when a pack cycles from cold to warm. Your ink system needs to hold up through that movement without losing legibility or the intended colour response. For Durban and other coastal sites, the extra humidity in summer can also affect drying times and adhesion, so press conditions matter as much as the ink itself.
Ask for drawdown panels and run adhesion tests on the exact substrate you will use. If the pack has a varnish, laminate or cold seal area, check coating compatibility before full production. A good result on a dry sample mean little if the same pack starts sweating in a cold room. Press crews should also watch for rub resistance, because packs often slide against each other in crates and distribution boxes.
- Test on the final board, film or label stock, not a substitute
- Check drying and curing at the actual press speed you plan to run
- Run rub resistance checks after cold and warm cycles
- Confirm the print still reads clearly after light condensation
Build the temperature cue into the pack design
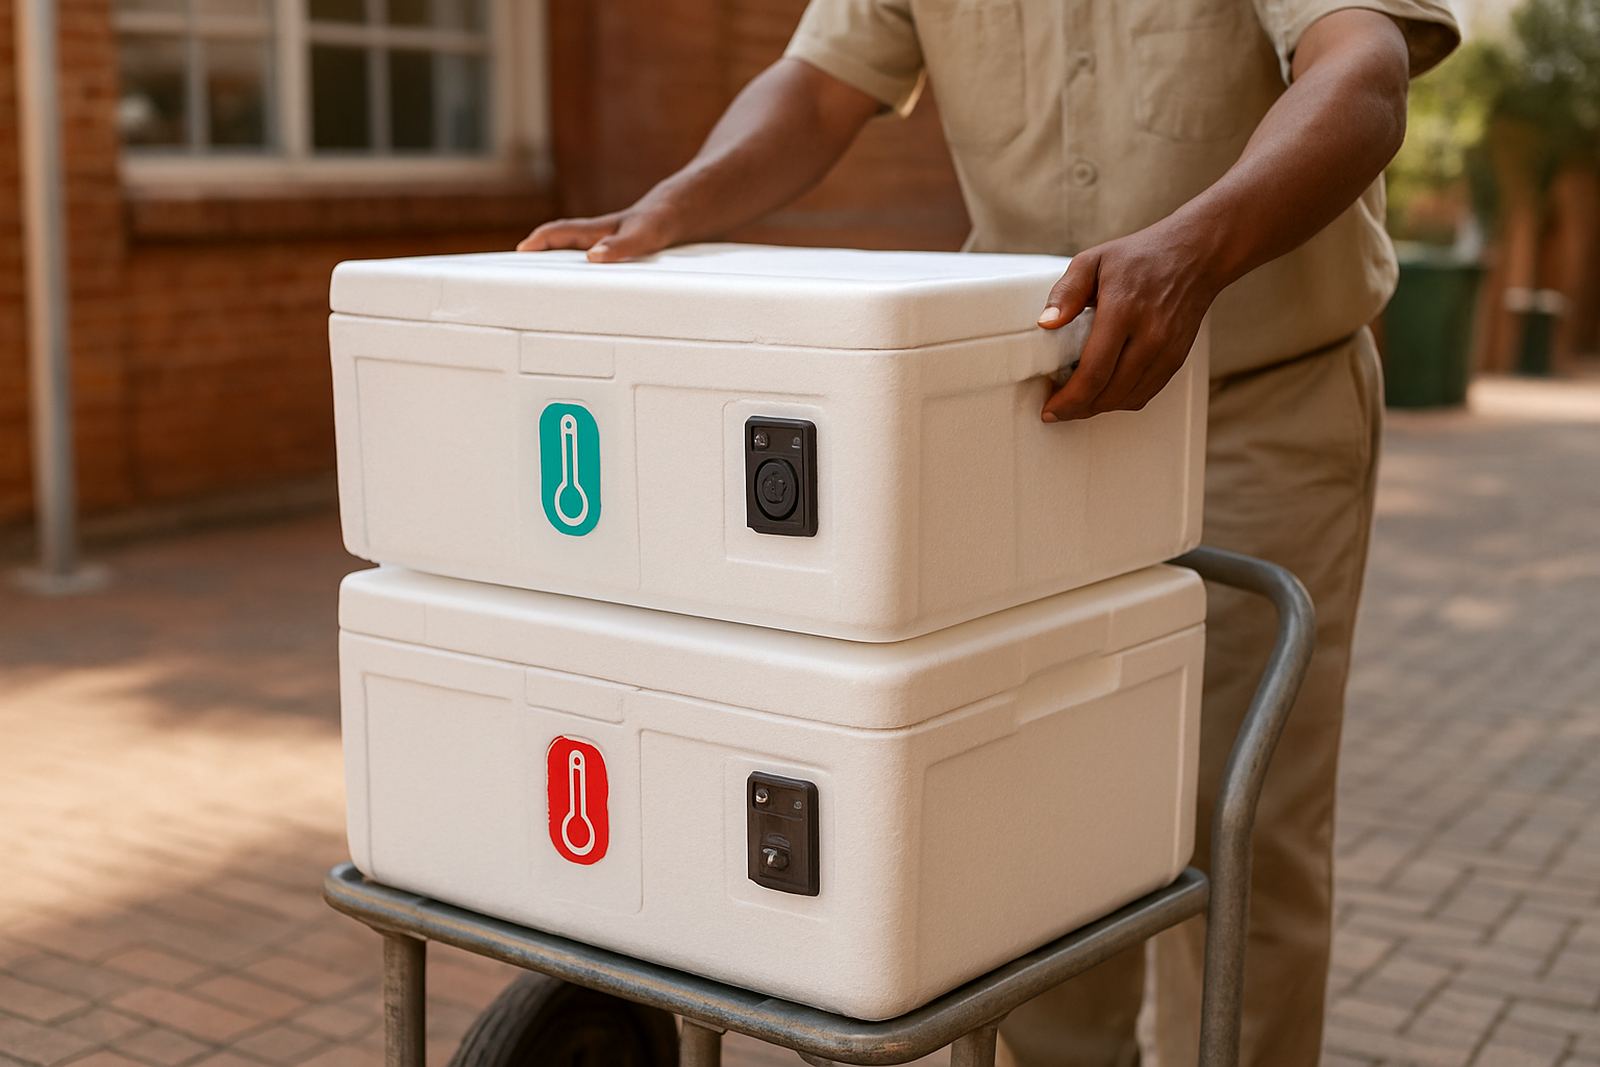
Thermochromic features work best when they are easy to read at a glance. In a busy loading bay, staff should not have to guess whether a panel has changed. Keep the cue in a clear position, use enough contrast around the indicator, and make sure the change is visible under warehouse lighting as well as natural light. If the pack will be used for retail, the consumer should understand the message without a long explanation.
For temperature-sensitive goods, the message may be simple: stay chilled, do not refreeze, or accept only within a set range. The change point has to suit the product and the cold chain process. Too early and the pack signals a problem when there is none. Too late and the warning loses value. Threshold tuning during sample work helps set that balance properly.
- Keep the indicator away from scuff-prone folds and corners
- Use strong contrast between the base print and the active area
- Set the trigger temperature to match the product, not a generic spec
- Test visibility under fluorescent, LED and daylight conditions
Use security print where shrinkage and substitution are risks
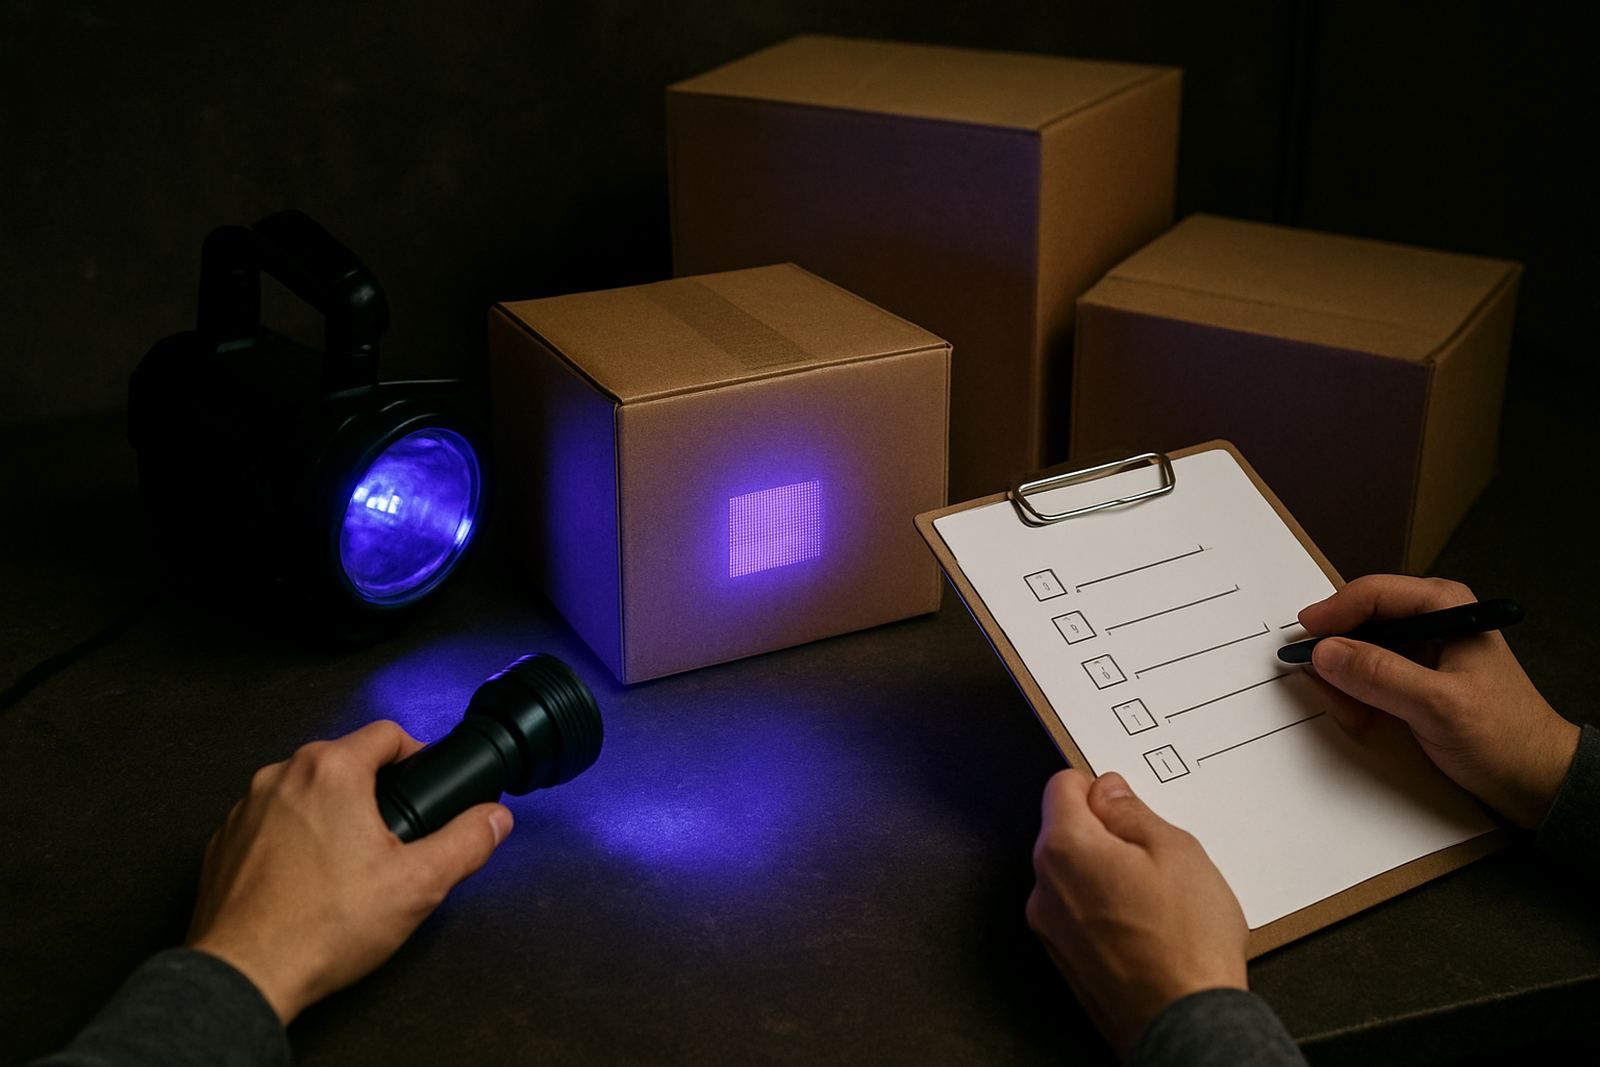
Cold chain products are often high value, time sensitive, and vulnerable to tampering. That makes authenticity marks and security patterns useful on cartons, sleeves and labels. A security feature can help teams spot fake stock, opened packs or replaced contents before goods reach the shelf. It also gives distribution teams a simple visual check at receiving.
Security print should work with the packaging line, not slow it down. If the pack is folded, wrapped or applied to a chilled surface, the feature must still hold through handling and storage. Pattern design should be specific enough to be hard to copy, but clear enough for warehouse staff to verify quickly. In many cases, a combination of overt and hidden features is better than one complex mark alone.
- Design a visible check that staff can confirm at a glance
- Add a hidden or coded feature for deeper verification
- Make sure the print can be checked on fast-moving pack lines
- Keep a batch retain library so samples are available for later comparison
Plan production checks before the first full run
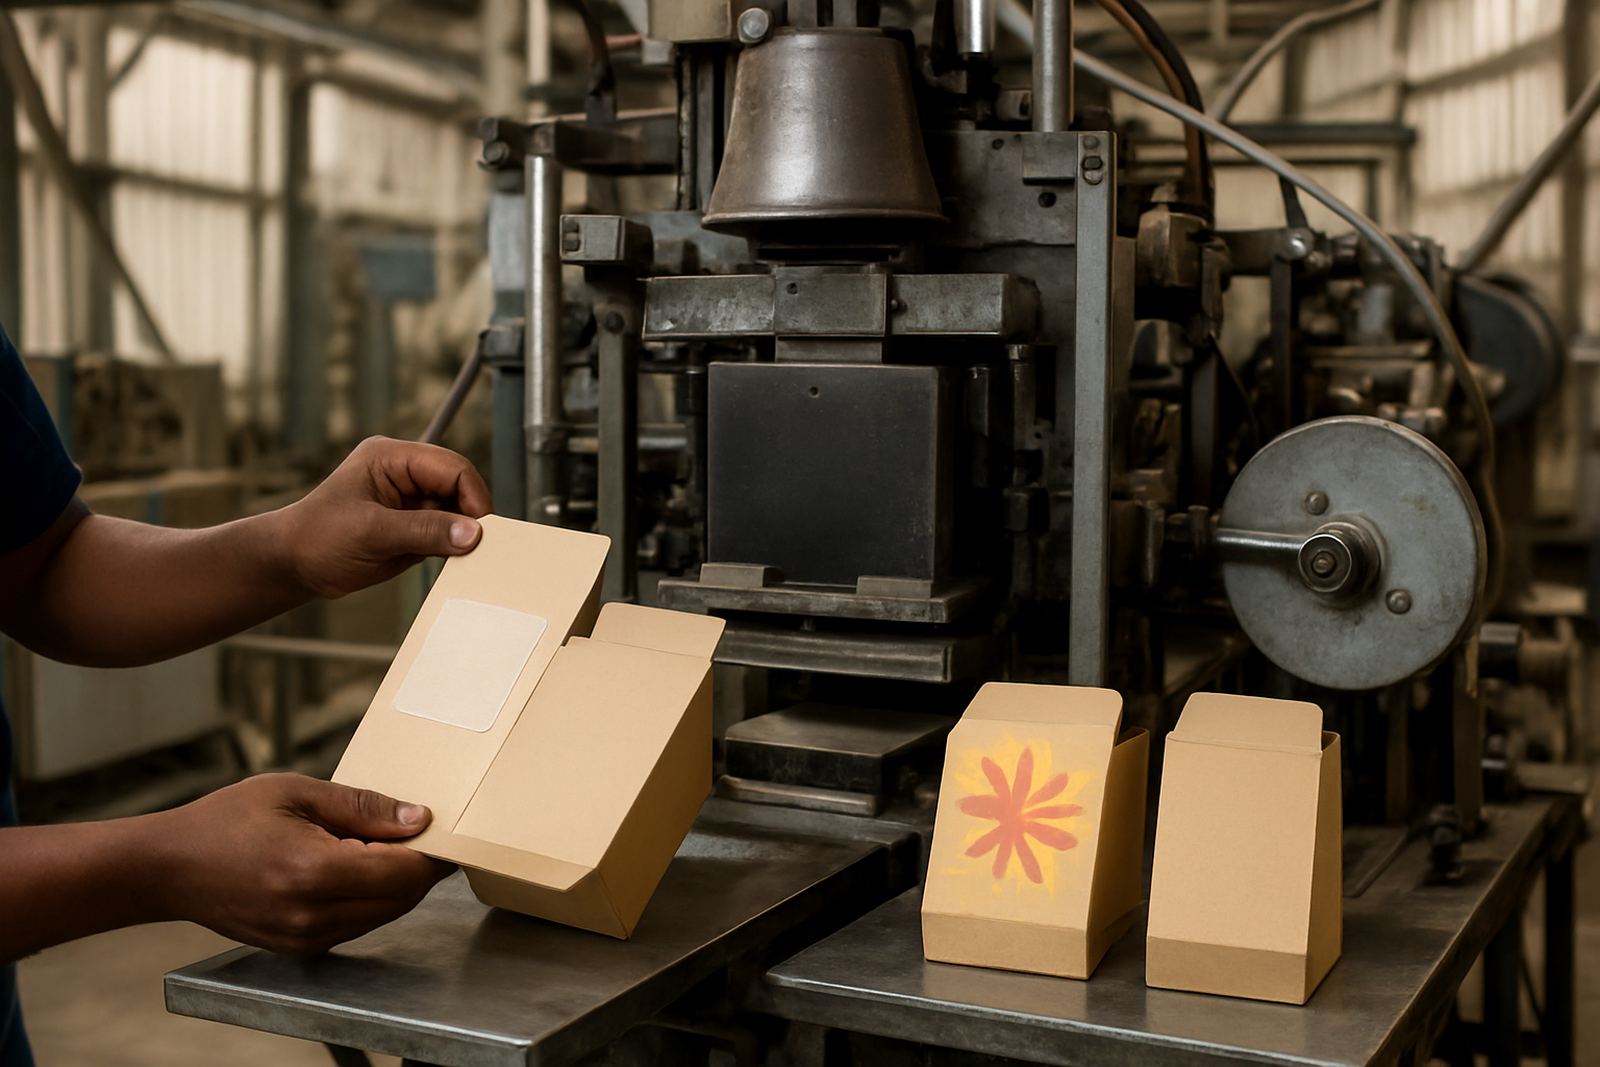
A cold chain pack should not go straight from artwork approval to large volume production. Start with trial batch making, then test the pack through the same steps it will face in real use. That includes packing, chill storage, loading, transport and retail handling. If there is a problem, it is far cheaper to find it on a short run than after thousands of units have been delivered nationwide.
Production troubleshooting should cover both print performance and line performance. Sometimes the issue is not the ink, but the way the substrate feeds, the way the coated surface accepts the print, or the way the pack behaves once it has sat in a cold room overnight. Press startup support can help the team set stable conditions from the first sheets or first metres, which saves time and waste.
- Approve a signed sample before bulk printing begins
- Keep a record of the exact press settings used on the trial run
- Check pack performance after 24 hours in cold storage
- Re-test if the substrate, coating or supplier changes
Simple checklist for packaging teams before release
Use a short final check before the pack goes into distribution. This is where quality, logistics and operations need the same information. If a pack is headed for retail in Cape Town, inland DCs in Gauteng or direct delivery into KwaZulu-Natal, the cold chain plan should still match the same print standard. The aim is not just pretty packaging, but packaging that still does its job after transport, storage and handling.
Keep the checklist practical and repeatable. The same people do not always handle every step, so the control points need to be easy to follow. When teams use the same checks every time, fewer packs are rejected and less stock is written off due to avoidable print or handling faults.
- Confirmed the temperature range for the product
- Tested ink adhesion on the final substrate
- Checked rub resistance after cold storage
- Verified the colour change threshold
- Reviewed security markings and batch records
- Signed off the sample against the retain copy
For packaging converters, the best results come from early testing, clear targets and realistic trial conditions. Cold chain packs do not forgive guesswork, especially when moisture, time and temperature all change at once.