
Start With the Right Sample Conditions
Before any approval is signed off, define exactly what is being approved. A sample that looks right under office lights can behave differently on the press, on a pallet, or in a chilled store room. For converters in Durban, humidity and coastal storage can also affect drying and handling, so the sample should be checked in conditions close to real use.
Agree on the substrate, print surface, curing method and viewing light before the first drawdown. If the pack will be handled in cold rooms, in direct sun, or in a warehouse with load-shedding related temperature swings, say so upfront. The goal is not only colour match, but predictable effect behaviour and stable adhesion.
- Confirm the substrate and coating system.
- Record the viewing light source and distance.
- Note whether the sample is for visual approval, production trial or final sign-off.
- Keep one retained sample from each stage.
Use Drawdowns to Check Colour and Trigger Points
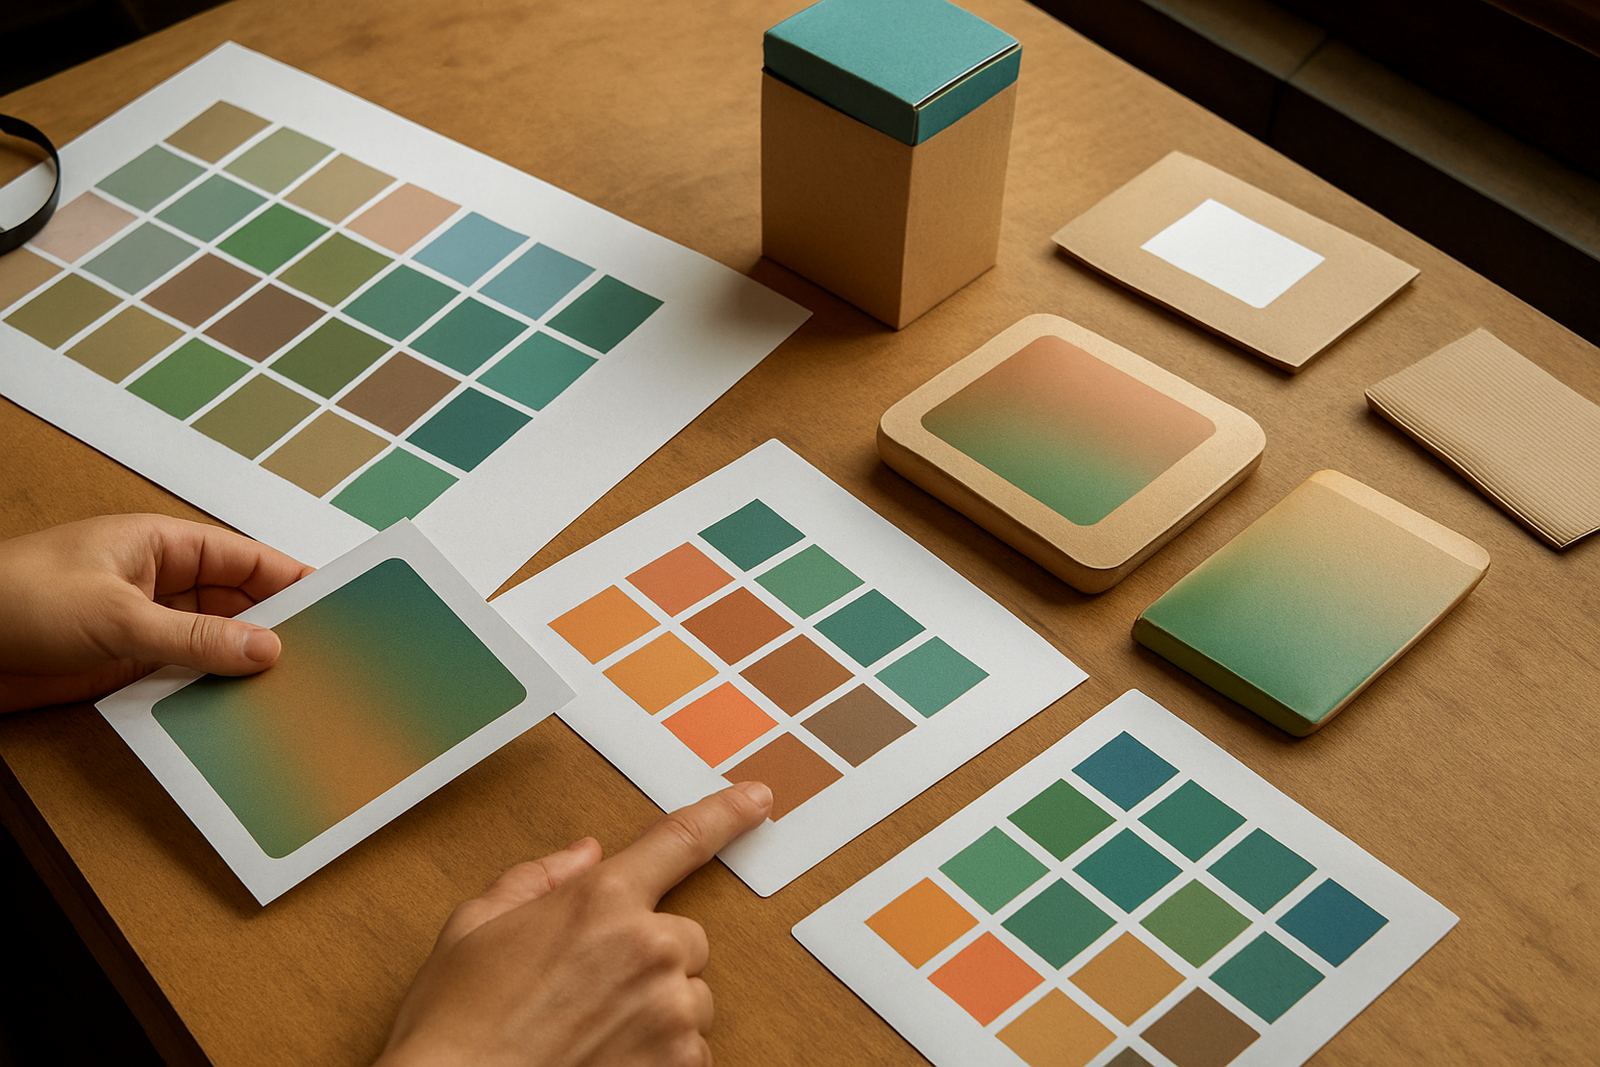
Drawdown panels give a fast read on colour strength, shade shift and thermochromic trigger response before a press run is booked. They help the team compare one batch against the agreed target and see whether the colour changes at the right temperature range. If the effect comes in too early or too late, the product may not give the correct cue on shelf.
At this stage, check the base colour, the activated colour and the return to the original state. Small changes in film thickness can alter the result, so record the applicator, coat weight and drying time. Shaun October and the technical team often use this step to narrow the field before trial batch making, which saves time on press and reduces scrap.
- Apply the same film thickness across all panels.
- Test the trigger point with a controlled heat source.
- Measure colour change at ambient, chilled and warmed states.
- Keep notes on coat weight, drying and cure conditions.
Check Adhesion, Rub and Coating Compatibility
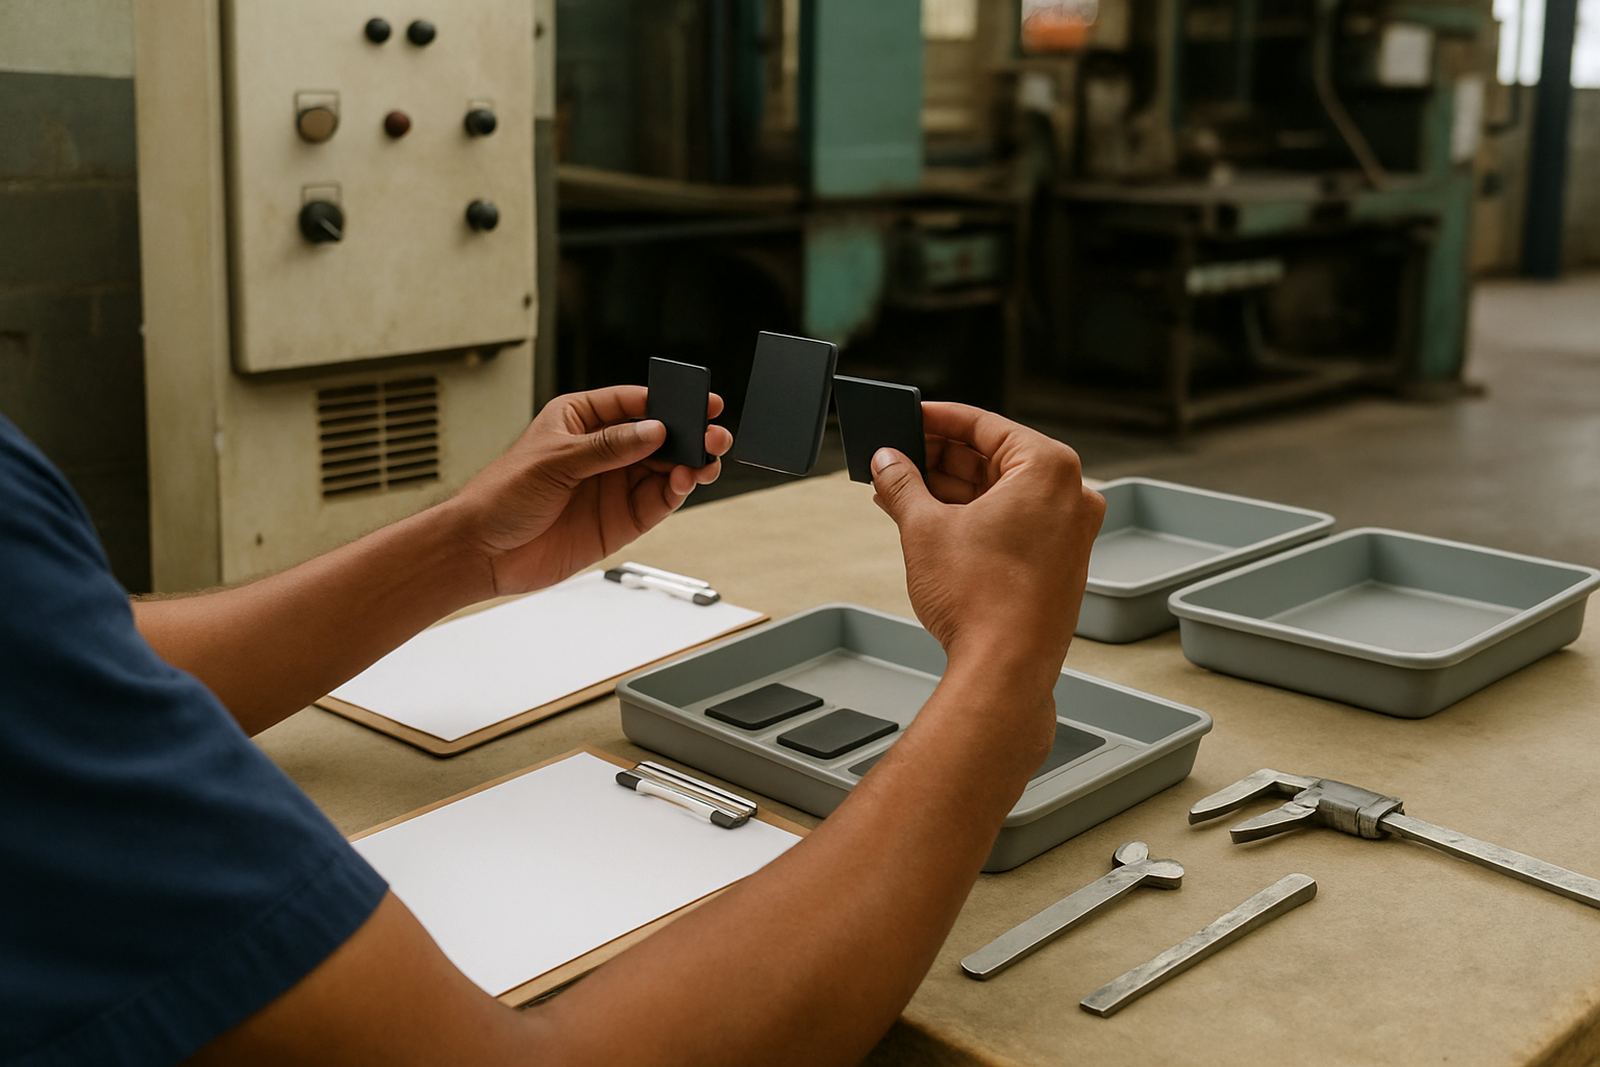
Colour is only part of approval. On packaging, the ink also has to stick properly, resist scuffing and work with the overprint varnish or coating in use. A nice-looking panel that fails a rub test will not help on the line or in distribution. This is where coating compatibility tests and rub resistance checks become important.
For cartons, labels, sleeves and pouches, the surface energy of the material can change the result. Gloss coatings, matt coatings and barrier layers all behave differently. Production Manager Lindokuhle Dlamini typically checks whether the ink sits well through printing, drying and cutting. If there is any lifting, blocking or transfer, it is better to find it now rather than after 5,000 units are packed.
- Run adhesion tests after full drying or curing.
- Rub the sample both dry and with light moisture where relevant.
- Check whether the top coat changes the colour response.
- Confirm that folding, creasing and converting do not damage the print.
Verify Security Features Under the Same Light Every Time
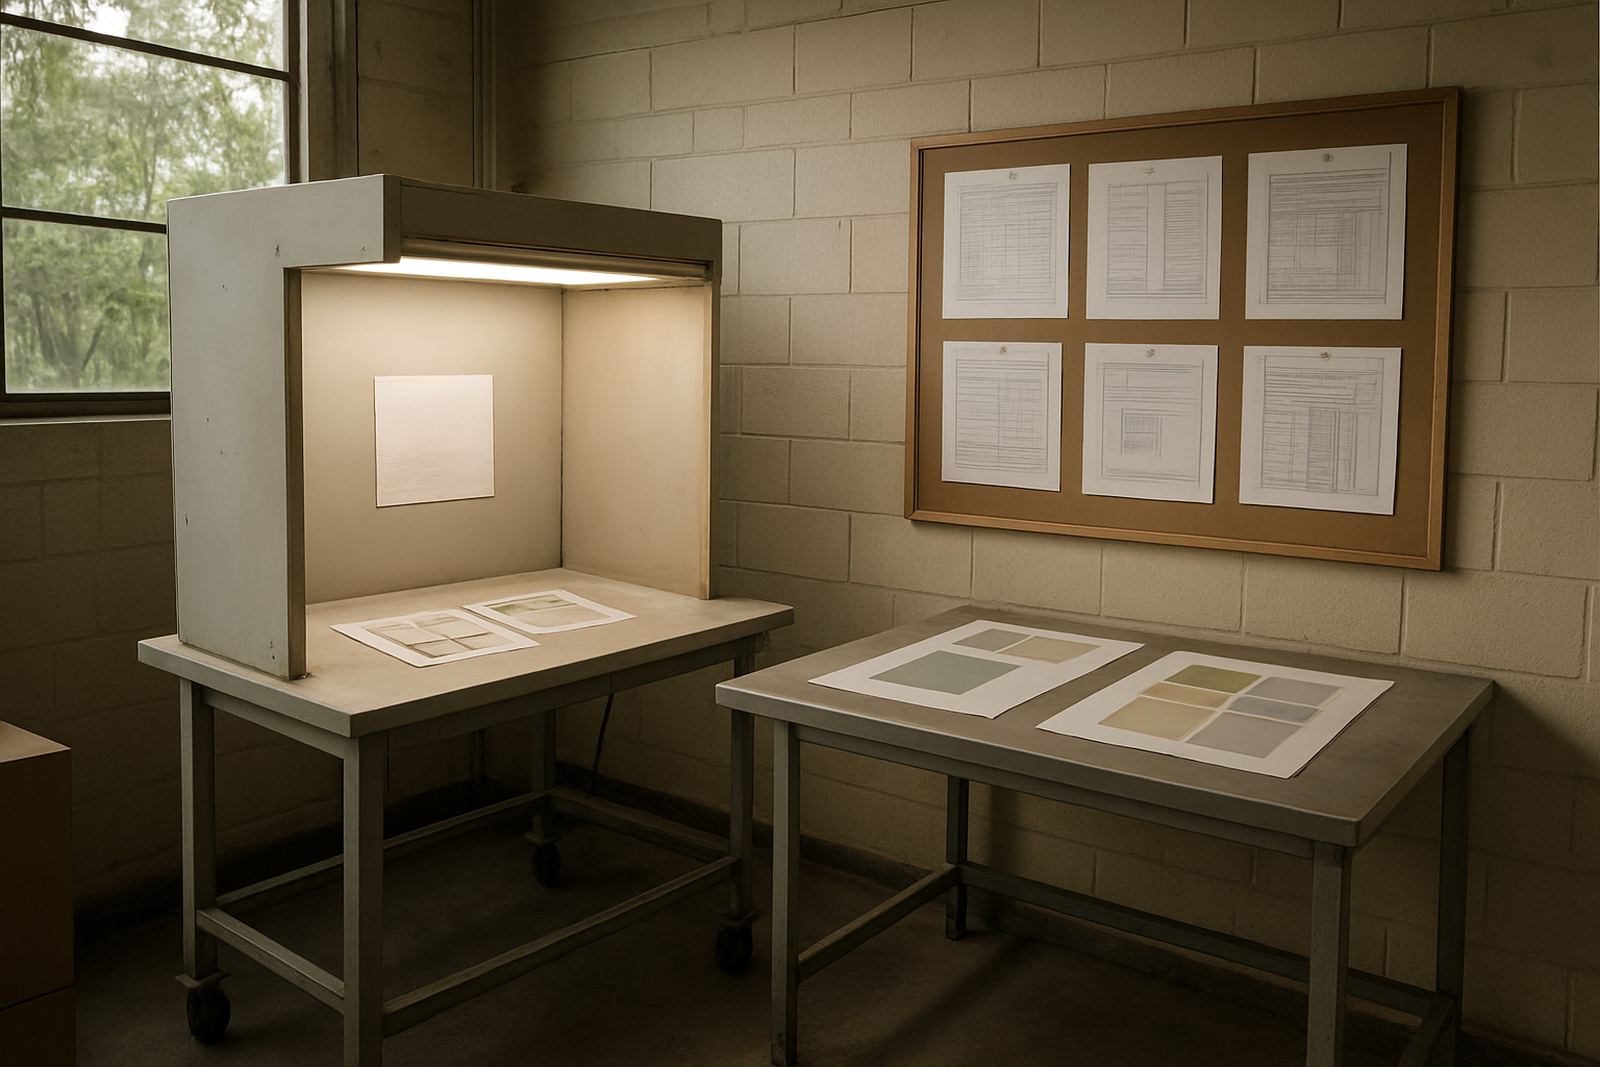
Security ink approval needs a controlled light set-up. If the visual cue is meant to show authenticity, the team must agree on what the correct appearance looks like and how it will be checked in the factory, warehouse or retail environment. UV verification setups should be simple enough for line staff to use, but strict enough to catch the wrong result.
Pieter van Wyk usually starts with a clear viewing method and then defines what counts as pass or fail. This may include hidden marks, reaction zones, pattern clarity or a specific colour shift under UV. Once the method is set, make sure the same conditions are used every time. If one line uses a hand lamp and another uses a cabinet, the approval should state that clearly, otherwise you get confusion later on.
- Specify the light type and inspection distance.
- Define the expected appearance in daylight and under UV.
- Record any hidden pattern or coded feature used for authentication.
- Train the line team on what a good sample looks like.
Document the Trial Batch Before Full Production
A trial batch is where the paper approval meets the real machine. It shows how the ink behaves at press speed, on the chosen substrate and during finishing. Jason Pillay coordinates dispatch for trial material to converters nationwide, including Johannesburg, Pretoria, Cape Town and Gqeberha, so the same approval pack can be used across different sites without guesswork.
Once the batch is printed, compare it against the signed sample and note any changes. If the result is slightly off, write down the exact issue, such as slow colour return, weak contrast or poor rub performance. A few small corrections at this stage are normal, and its better to fix them now than to carry a fault into full run production.
- Keep the approved drawdown beside the trial batch.
- Record press speed, dryer settings and ambient conditions.
- Capture any changes to shade, gloss or effect timing.
- Store the final approved sample in the batch retain library.
Use a Sign-Off Checklist That the Whole Team Can Follow
A clear checklist keeps approval simple for procurement, production and quality teams. It also helps when the same pack is made in different towns or on different shifts. Whether the work is being supplied through Jacobs, Pinetown, Prospecton or further afield, the same steps should be followed so there is no confusion about what was agreed.
ThermoInk supports this stage with colour matching, threshold tuning, trial batch making and press startup support. The point is to keep the approval practical, not theoretical. If the sign-off sheet shows what was tested, what passed and what still needs attention, everyone knows where they stand before the full order is released.
- Has the substrate and coating been confirmed?
- Has the colour target been matched and recorded?
- Has the effect trigger been tested at the right temperature?
- Has the security feature been checked under the approved light source?
- Has the final sample been signed and filed?
Keep Retains for Reorders and Seasonal Changes
Packaging changes over time. A winter batch can behave differently from a summer batch, especially in Durban where heat and humidity shift through the year. Retained samples help the team compare later runs against the original approved result, even when the substrate supplier, press or coating line changes.
Nomfundo Khumalo and the colour lab team keep retain records so that reorders can be checked quickly. This is useful for repeat campaigns, seasonal pack changes and product relaunches. If a customer calls months later asking for the same effect, the retain sample gives a clear reference and saves a lot of back and forth.
Good approval is not about chasing a perfect picture. It is about setting a repeatable standard that holds up on the press, in transit and on the shelf.