
Start With The Job Spec And Trial Goal
Before any ink hits the press, define what the trial must prove. Is the target a temperature cue for chilled packs, a security mark for authenticity, or a combination of both? Write the goal in plain terms, then confirm substrate type, coat weight, print side, drying method and expected conversion steps after printing.
For converters in Durban, Pinetown and Prospecton, humidity and overnight moisture gain can change how a sheet or roll behaves on press, so include storage conditions in the brief. If the job is for export, note the destination climate too because packaging that works in a cool warehouse may behave differently in a hot inland truck or a damp coastal store.
- Confirm substrate, print width and run length
- State the required colour shift, trigger point or security feature
- List curing limits, overprint varnish plans and finishing steps
- Set pass or fail rules before the trial starts
Check The Press, Ink Train And Material Condition
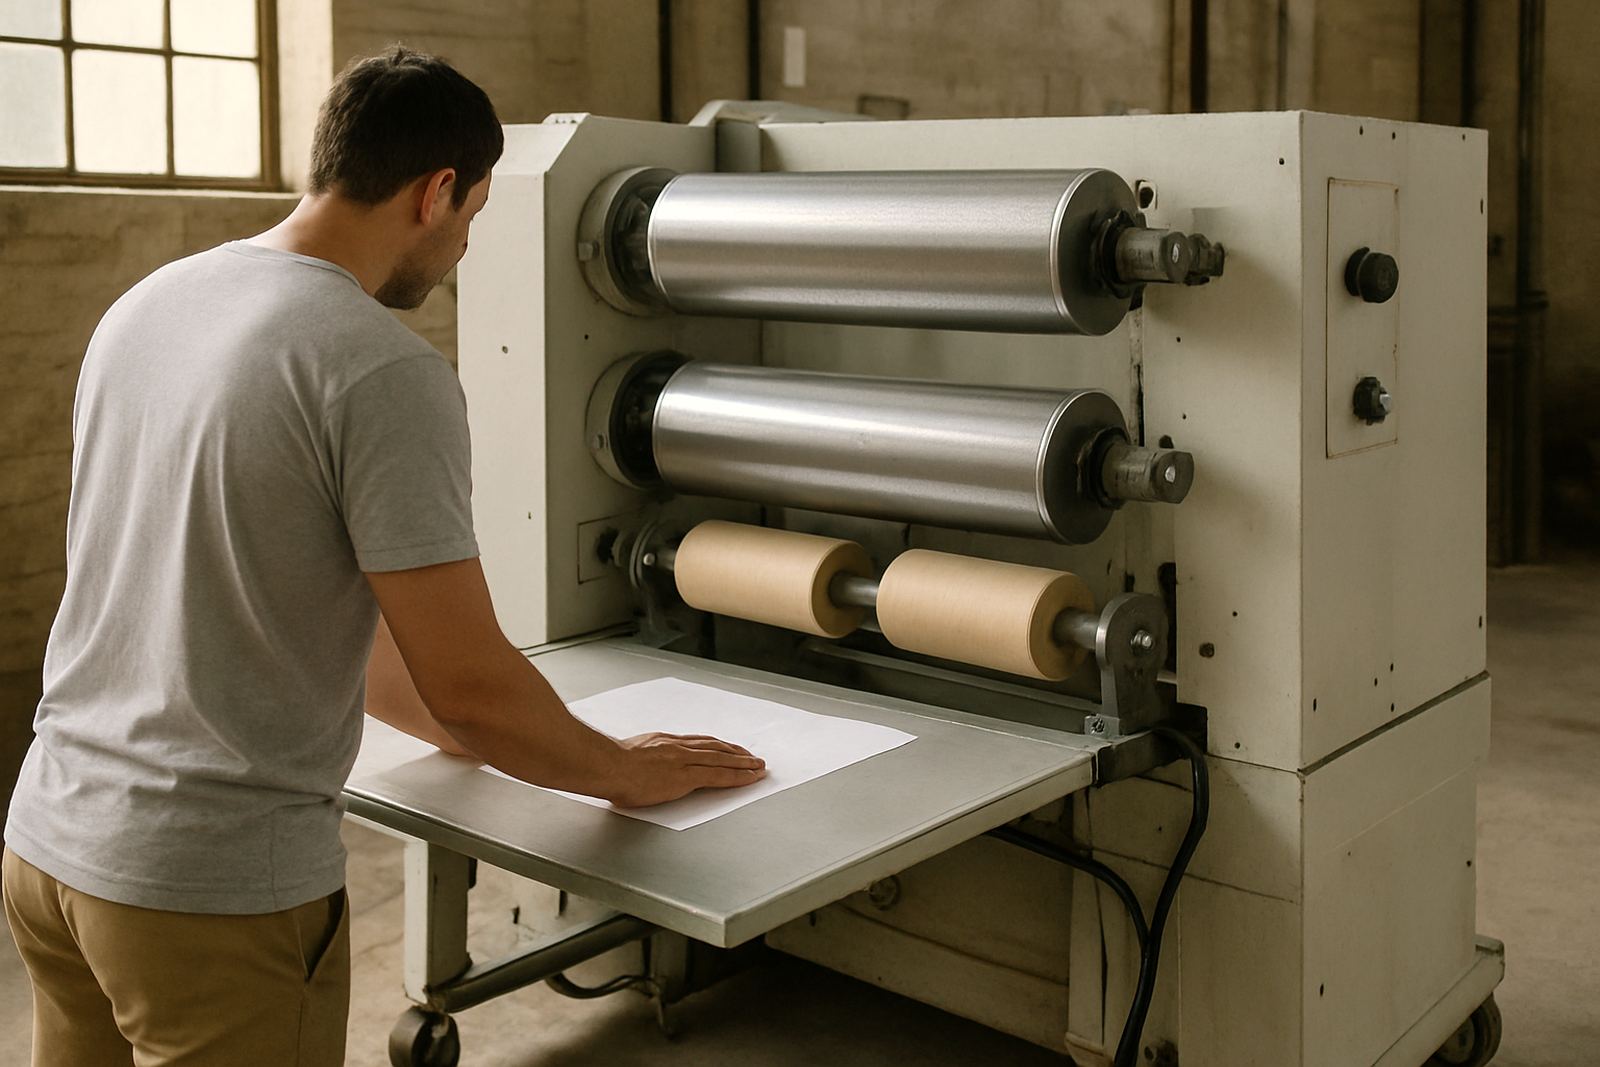
A flexo trial works best when the press is stable. Check anilox condition, plate wear, doctor blade setup, drying capacity and registration control before loading the trial ink. If the ink is thermochromic, the laydown must be even, so any variation in the ink train will show up fast. Small set-up faults can hide good ink behaviour or make a sound formula look weak.
Material condition matters just as much. Roll stock should be acclimatised to the pressroom and protected from dust. In summer, a warm roll straight off delivery can create feed issues and in winter a cold one can cause condensation in the first hour on press. That is why our team often asks for a short hold period before a trial begins.
- Inspect anilox volume and clean condition
- Check plate hardness and mounting accuracy
- Verify dryer temperature and airflow
- Measure substrate moisture and surface cleanliness
Set Up Colour Matching And Threshold Tuning
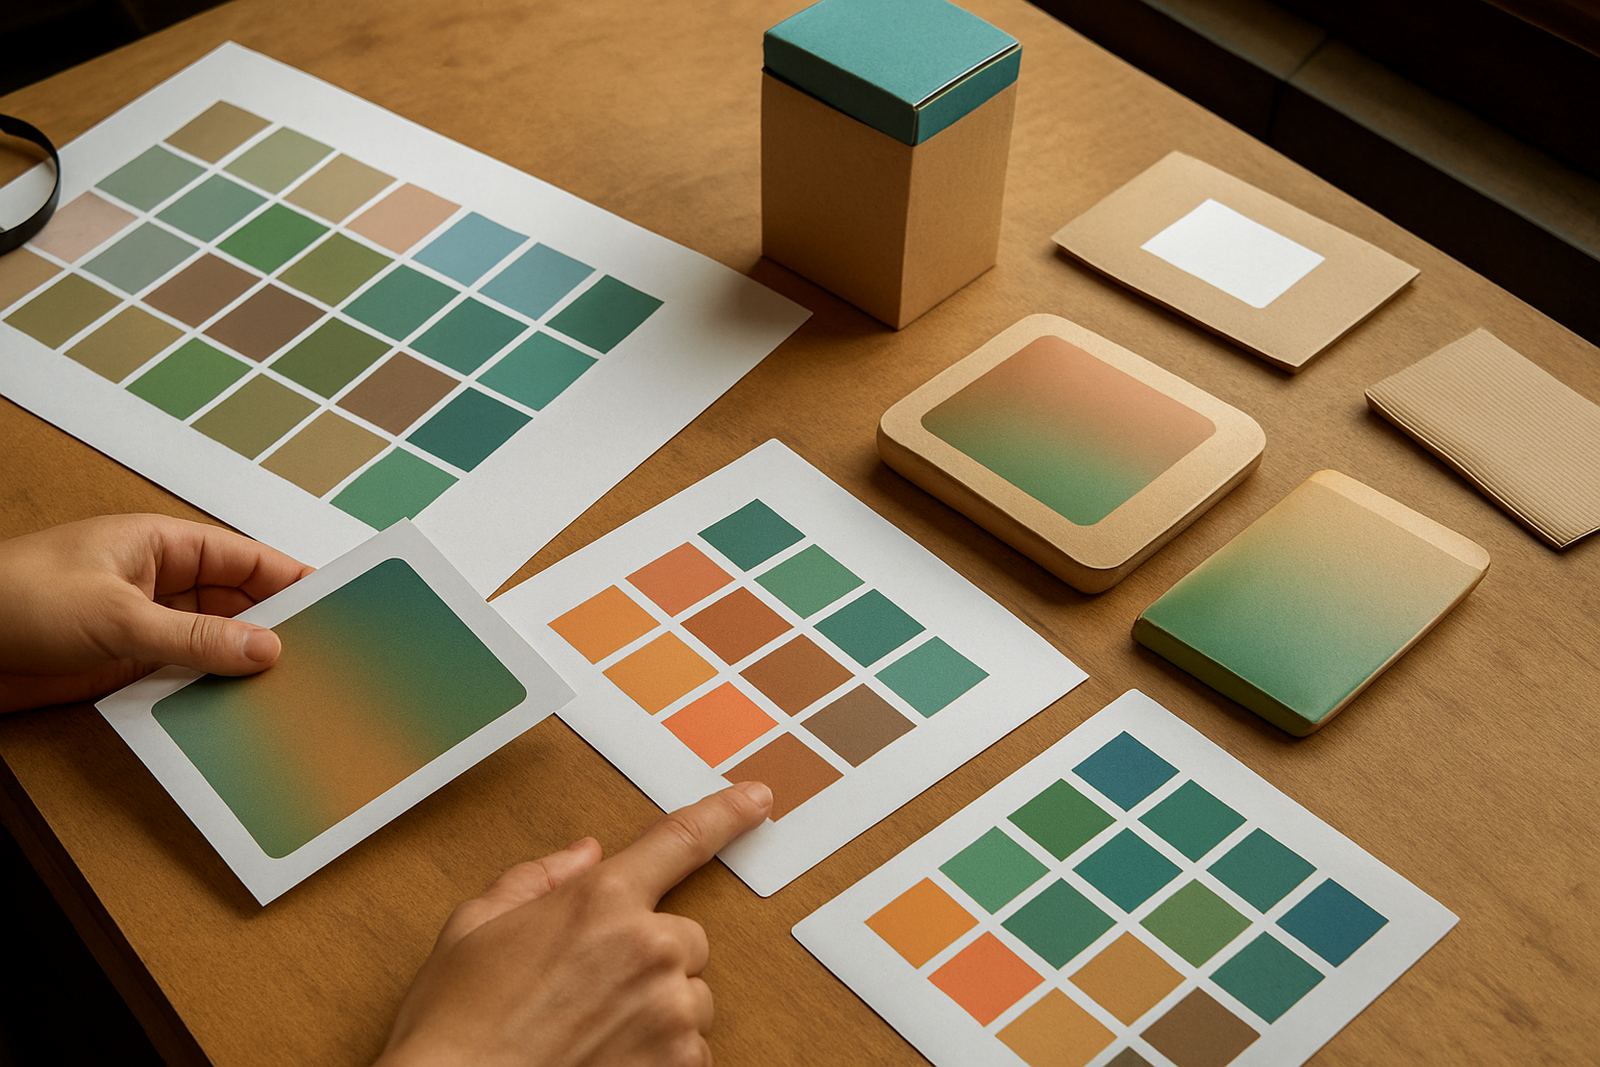
Special inks need more than a visual approval under the press lights. Start with drawdown panels and agree the target shade under standard lighting. From there, adjust threshold tuning for thermochromic response or the required security effect. A cue that activates too early can confuse the pack, while one that activates too late may miss the point of the application.
Use a controlled sample set so the press team can compare slight changes without guessing. Keep one panel as the master reference and label every variation clearly. If you are running multiple pack sizes, do not assume the same film, board or laminate will behave the same. Coating compatibility is worth checking up front, especially when the pack has a varnish or laminate added after print.
- Make drawdown panels before the press run
- Test the target shade under daylight and store lighting
- Record trigger temperature and visible change speed
- Confirm compatibility with varnish, foil or laminate
Run A Short Controlled Press Trial
Begin with a short run at steady speed rather than pushing straight to production output. The first objective is consistency, not volume. Watch ink transfer, drying, register, smell, and any sign of blocking or set-off as the web or sheet moves through the press. If the trial includes a security element, confirm that the pattern prints cleanly across the full width and not only in the centre lanes.
Keep a press sheet or roll sample from each stage. Note the line speed, press settings, substrate lot, room conditions and operator changes. If the line has stop-start interruptions due to load-shedding or power fluctuations, record the time and the restart condition because that can affect drying and adhesion. For many trials, one extra pass after restart tells you more than the first one.
- Start slow and increase speed in steps
- Keep one operator on the ink adjustments
- Retain samples from start-up, mid-run and shut-down
- Log any stoppages, power changes or wash-ups
Test Adhesion, Rub Resistance And Drying Before Sign-Off
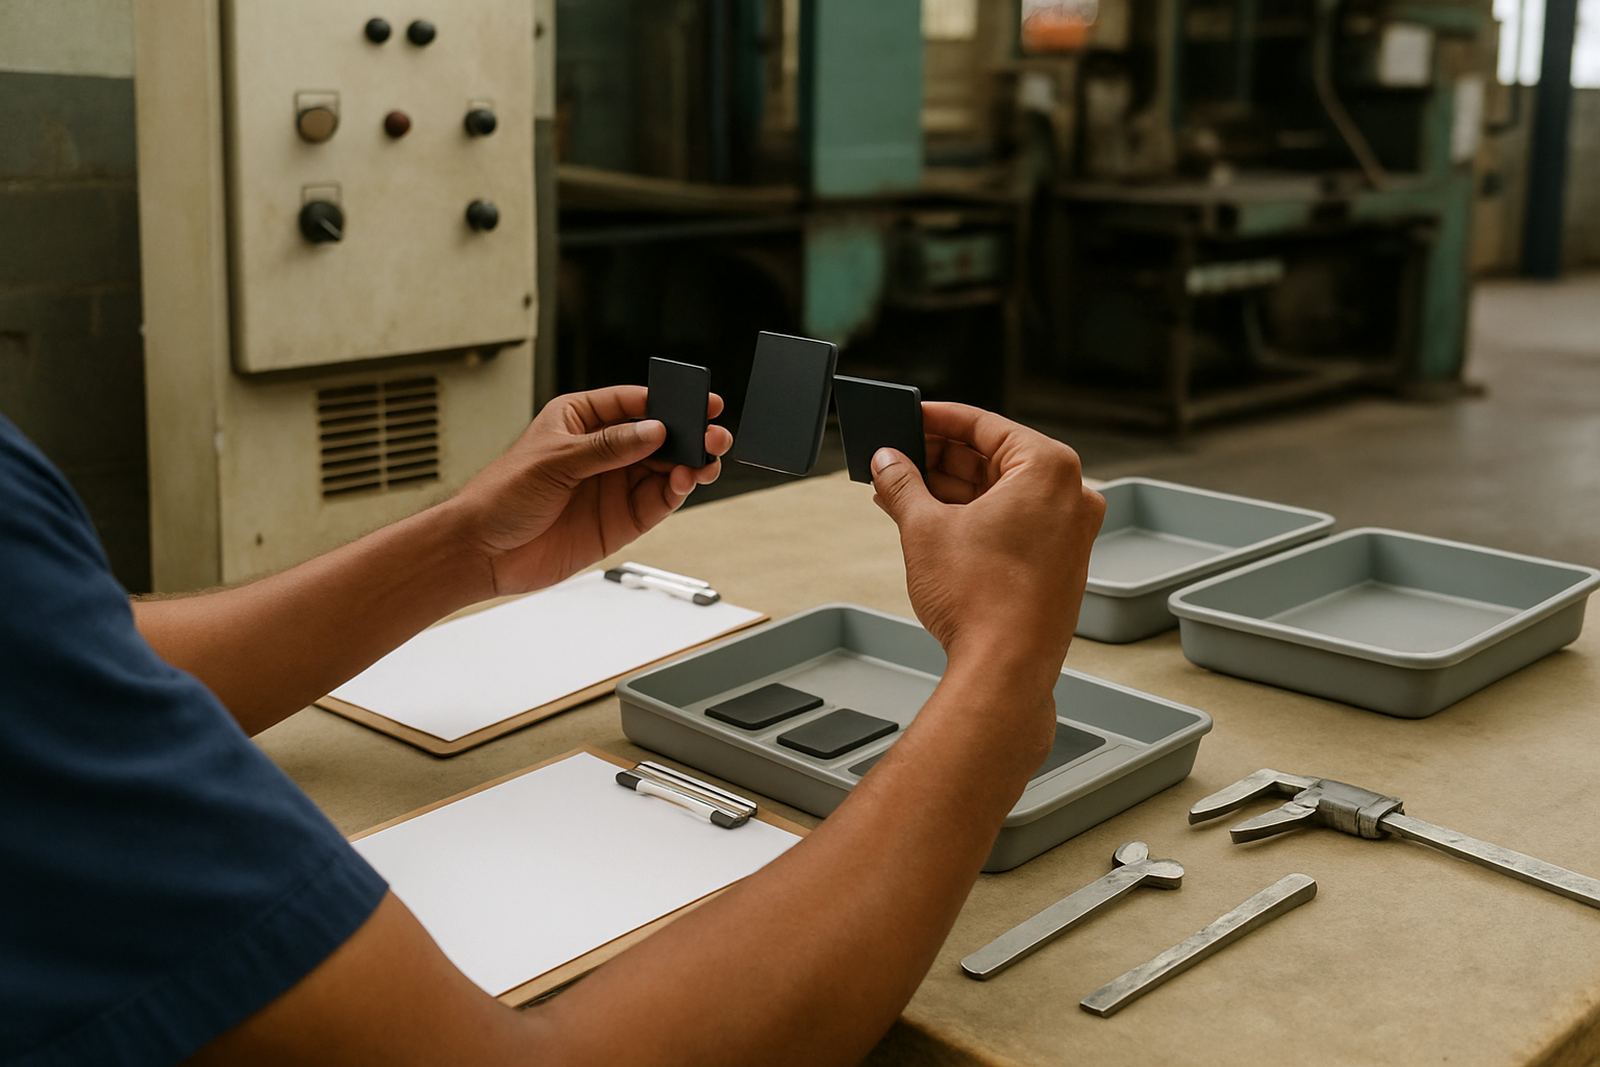
Do not sign off a trial until the print survives handling. Adhesion tests show whether the ink anchors properly to the pack surface. Rub resistance checks tell you if the image will hold up through packing, transit and shelf handling. If the pack is chilled or stored near cold rooms, also check how the ink behaves after temperature change, not only at room temperature.
Security inks deserve a second round of verification. If the pack includes UV response or a covert feature, confirm that the effect reads correctly with the agreed inspection setup. A good trial should show the same result on every sample, not just on the best one. Where a job is going to multiple plants, keep retained samples for later comparison so the next batch can be matched to the approved trial.
- Perform adhesion and rub checks on all sample points
- Test dry time before stacking or rewinding
- Check UV or other verification methods on site
- Store retained samples with date, batch and press details
Document The Result So The Next Batch Is Easier
A trial only helps if the record is complete. Put the final settings, sample images, pass or fail notes and any troubleshooting actions into one file. Include the substrate source, ink batch, press used and the names of the people who approved the outcome. That record should be clear enough for a production team in Johannesburg, Cape Town or Gqeberha to repeat the run without guesswork.
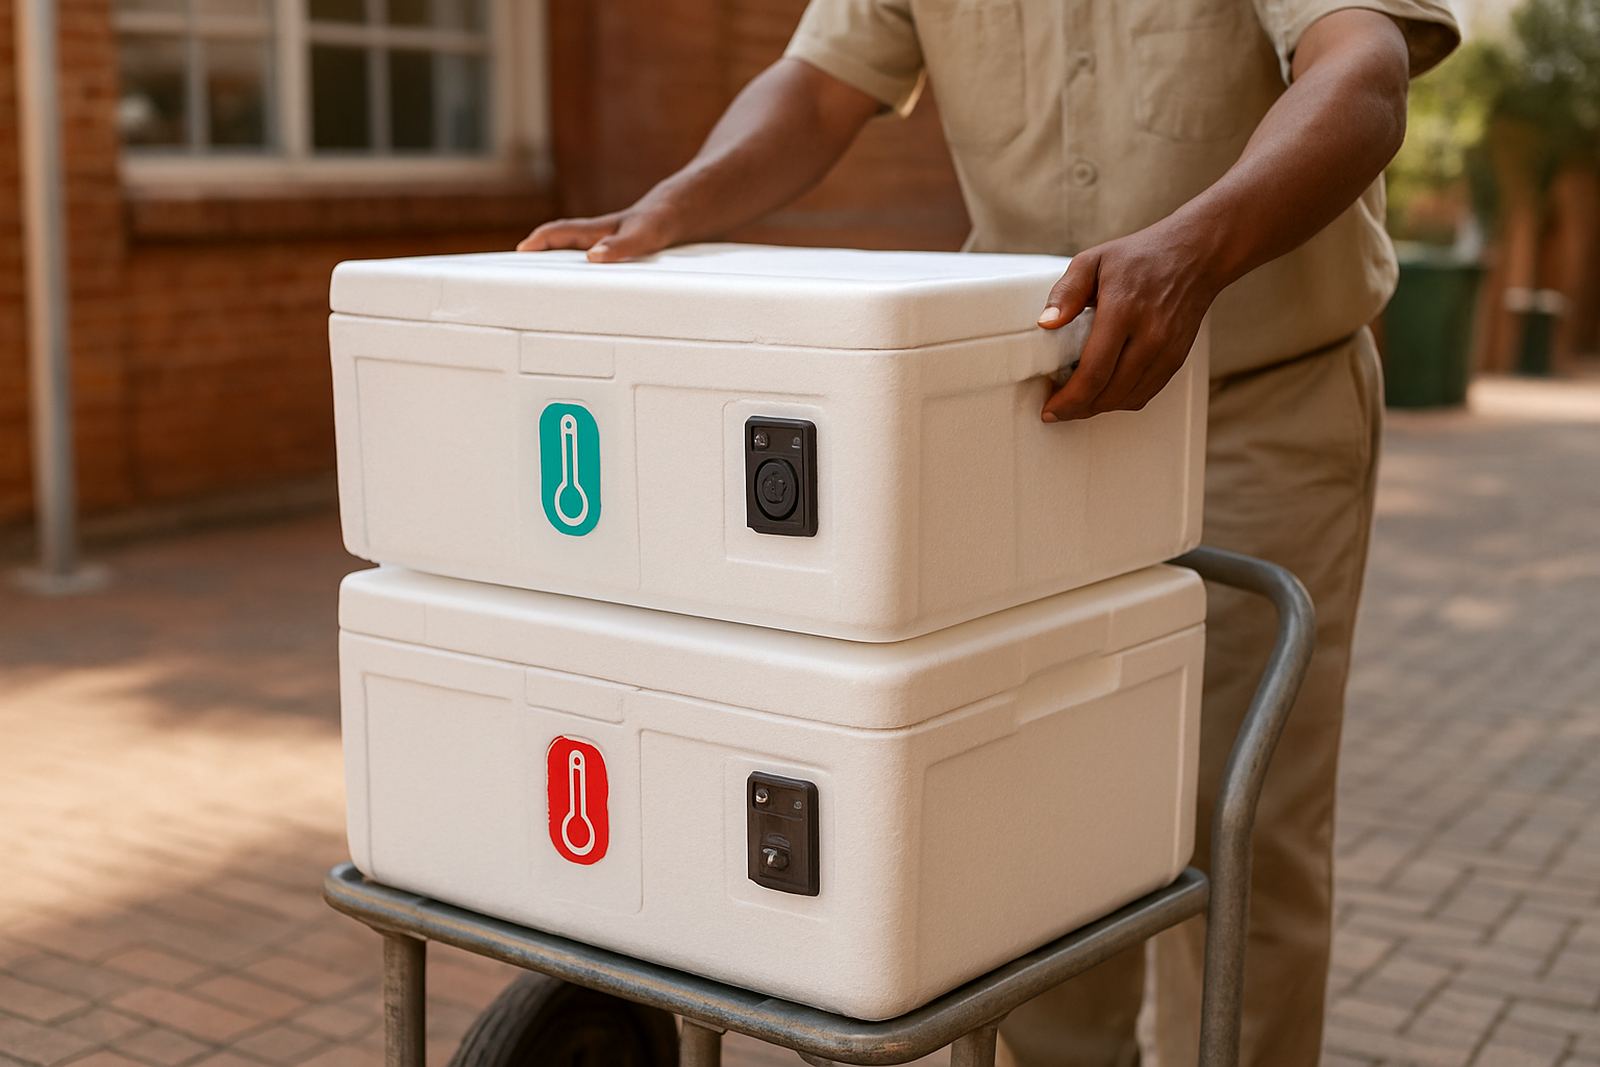
For recurring packaging work, build a simple approval trail. Keep the master sample, the retained batch and the tolerance notes together. If the pack carries a temperature cue, note the expected use conditions too, such as chilled display, ambient shelf or transport through hot inland routes. Good documentation cuts down on repeat trials and helps when a new shift takes over.
- File the approved sample and written settings together
- Note storage and handling limits for the printed pack
- Record any coating or finishing changes
- List the people responsible for approval and release