
Why film adhesion fails even when the ink looks fine at first
On packaging films, a print can look good straight off the press and still fail in transit, on the filling line, or after a few days in storage. That is because films behave differently from paper and board. Their surface energy is lower, the film may carry slip additives, and the print area can be affected by heat, moisture and handling before the pack even reaches the customer.
In Jacobs and the wider Durban area, humidity often sits high enough to affect drying and cure, especially when stock is held near open doors or loaded into warm vehicles. Add in coastal moisture, dust from conversion areas, and stack pressure in pallets, and poor adhesion starts to show up as scuffing, edge lift, or full transfer from one layer to another.
The first mistake many teams make is treating adhesion as a single issue. It is usually a chain of small problems: film choice, surface treatment, ink set-up, drying conditions and later handling. If one link is off, the result can be weak adhesion or a finish that looks acceptable but fails a rub test.
The substrate is often the real cause
Different films accept ink differently. Polyolefin films, polyester films and laminated structures all behave in their own way, and even the same film type can change from batch to batch. A converter may switch rolls and suddenly find the ink beads, wets poorly, or sticks only in patches. That can happen when the film surface treatment has drifted, or when a supplier has changed the formulation slightly.
Surface contamination is another common problem. Silicone, grease from handling, anti-block agents and dust can all sit on the film and block adhesion. In practice, that means a clean-looking roll can still fail. For food and personal care packs, this is especially important because the film may be exposed to filling oils, sanitisers or chilled condensation after printing.
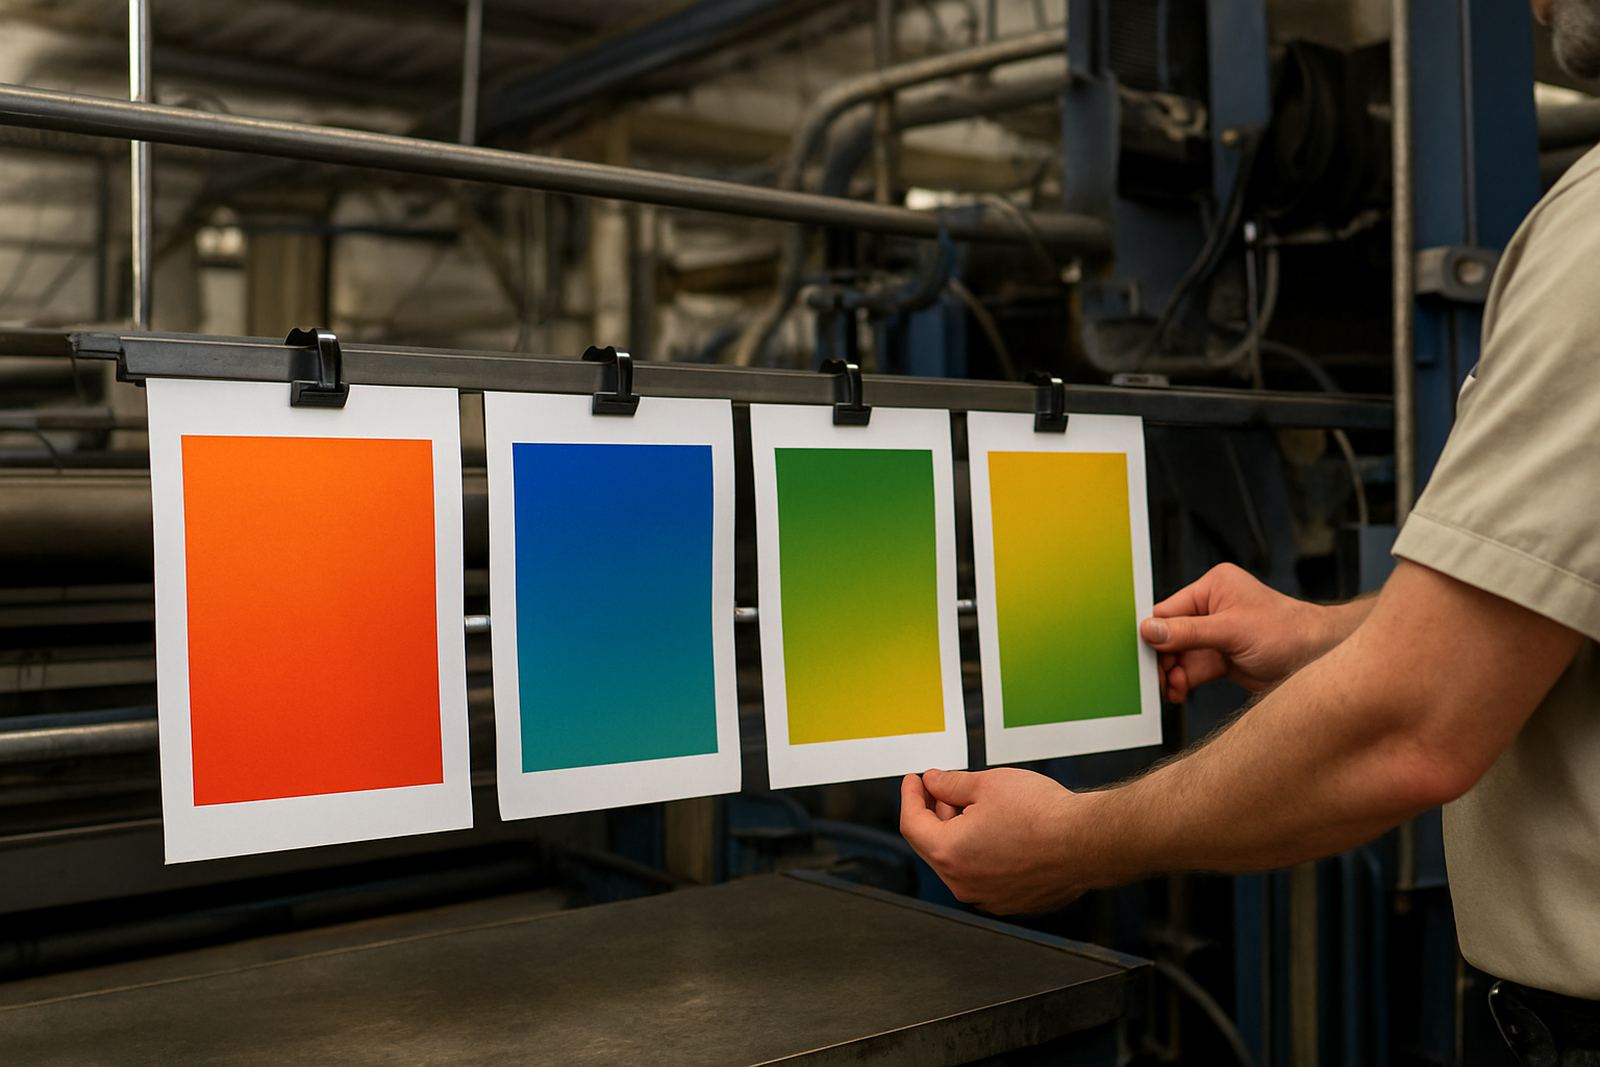
One useful rule is to inspect the film before blaming the print. If the issue appears across multiple colours or only on certain zones of the roll, the substrate should be checked first. In our work, we often start with drawdown panels, then compare adhesion on fresh roll stock and on material that has stood overnight in humid conditions.
- Check for supplier changes in film batch, treatment level or slip additives.
- Confirm the roll was stored sealed and away from direct sunlight.
- Look for contamination from oil, dust, hand contact or pallet wrap residue.
- Test both the lead edge and the body of the roll, not just one sample.
Ink, curing and surface treatment need to match
Even the best film will not hold ink if the ink system and cure conditions are out of balance. Too little treatment on the film, and the wetting is poor. Too much ink film build, and the surface can skin over before the lower layer bonds properly. In some cases the press speed has been pushed up to meet a deadline, but the drying section has not been adjusted to match.
For converters working with sensitive packaging, the practical checks are simple: confirm the treatment level, review the ink laydown, and compare adhesion after drying and after full cure. If the ink is thermochromic or has a security function, the film surface matters even more because these inks may be used in thinner layers or in patterned areas where bond strength has to remain consistent.
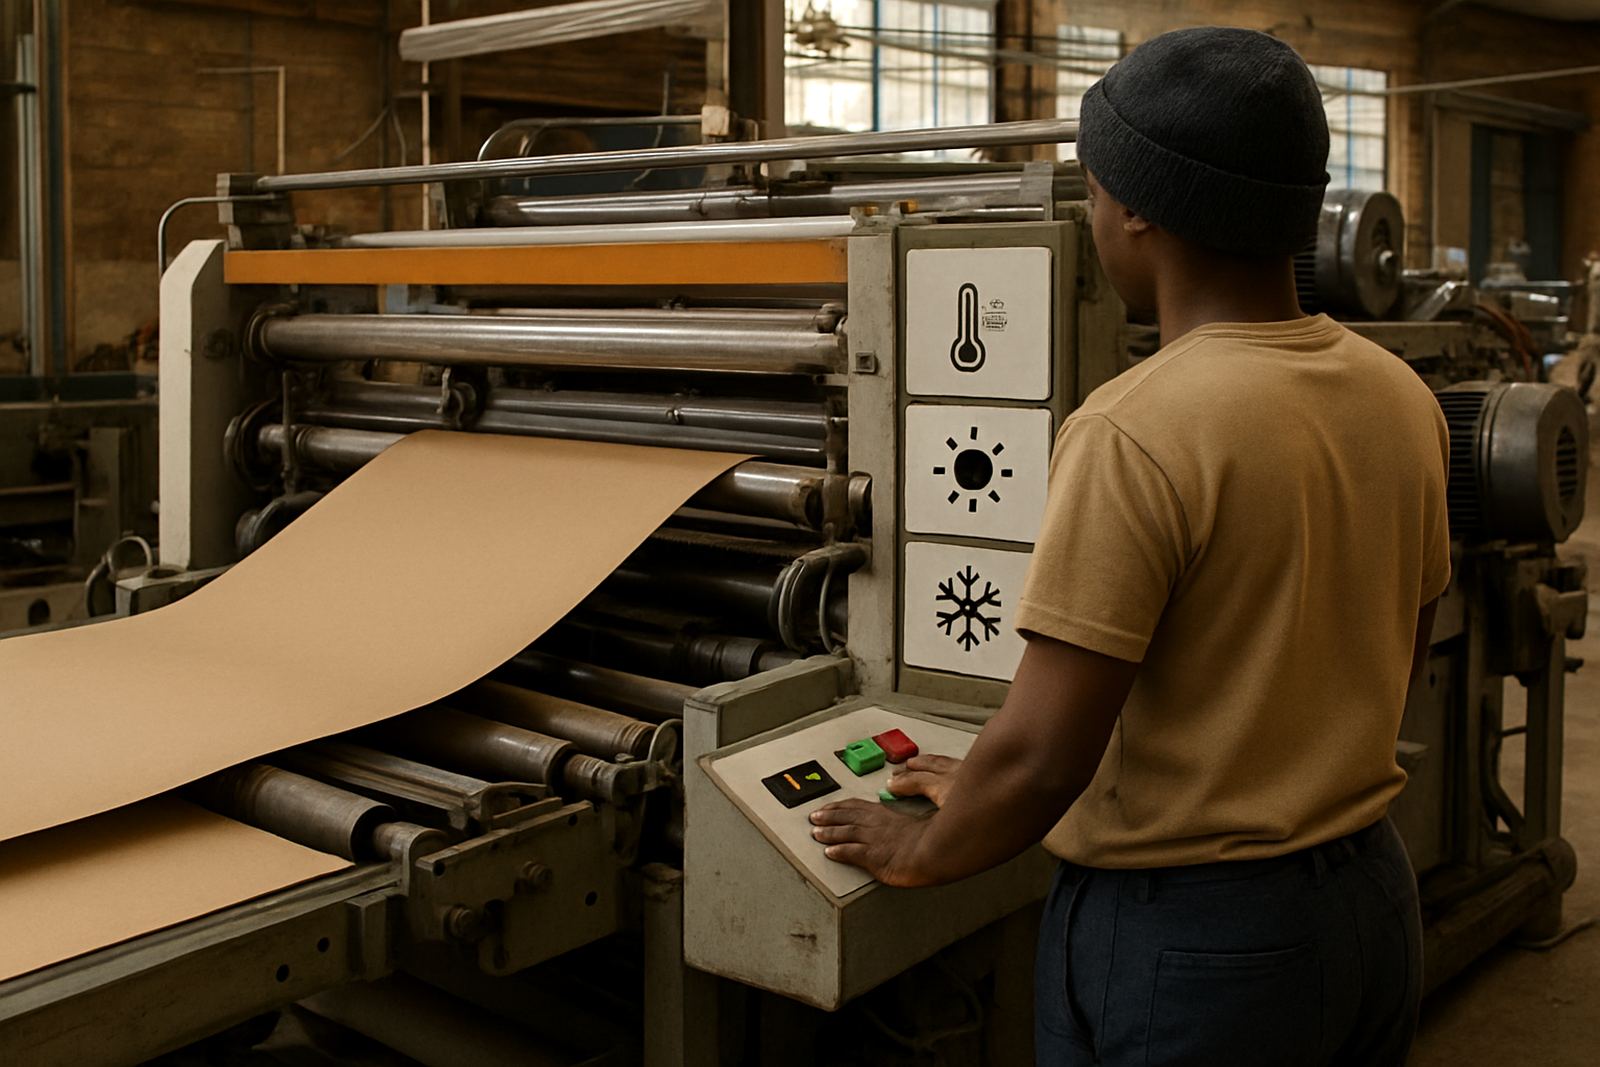
Temperature during production also matters. In hot conditions the ink may flash off too fast and leave an under-bonded surface. In cooler or wetter conditions, cure can drag. A pack that passes a quick rub test on the line may still fail once it is packed into cartons and transported inland.
- Use the correct treatment level for the film before printing starts.
- Keep ink viscosity within the agreed range for the run.
- Match dryer settings to press speed and film thickness.
- Retest after 24 hours, not only immediately after printing.
How to spot an adhesion problem before it reaches the customer
Good quality control is about catching failure early. A simple rub resistance check can reveal weak bonding, but it should not be the only test. Adhesion on films may need cross-hatch checks, tape pull checks, and visual inspection after folding or creasing. For packs that will be chilled or handled in distribution, add a test after exposure to moisture or cold, because some inks lose grip when the substrate contracts.
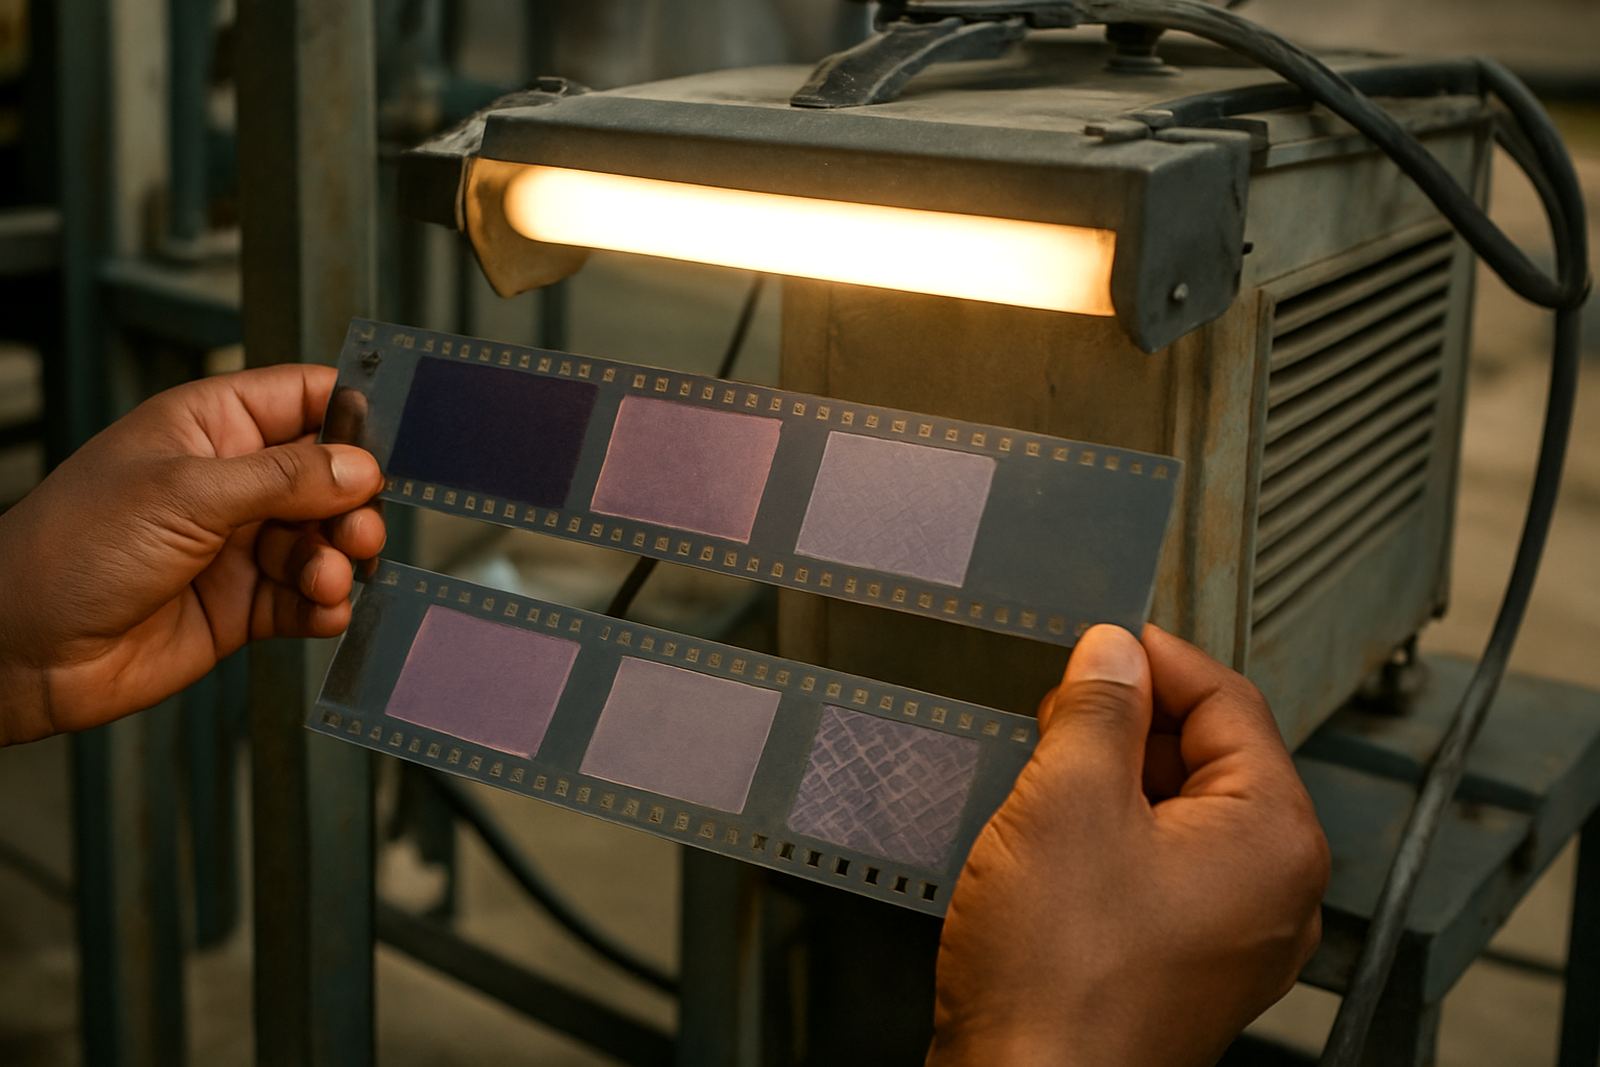
It helps to keep a batch retain library for comparison. When a problem appears, you can compare the current run with a known-good sample from the same film family. That gives the production team a clearer starting point than guesswork. At ThermoInk, we also recommend UV verification setups where relevant, especially for security work, so that the final finish can be checked under the same conditions the pack will face in use.
If a failure repeats on the same product, record the variables. Film supplier, roll age, treatment, line speed, ambient conditions, ink batch and drying setup all belong in the job file. Those notes save time when the next run comes in, and they make it easier to isolate the root cause instead of reworking the whole process.
What to do when a job must keep moving
Sometimes the line cannot stop for a full investigation. In that case, the aim is to stabilise the job quickly and reduce waste. Start by slowing the press slightly, checking surface treatment, and confirming the dryer is not overloading the film. If adhesion is still weak, move to trial batch making on a small quantity before committing to the full order.
A local example: a Durban converter running packaging for temperature-sensitive sachets saw print lift after the material spent a weekend in a warm store room near Jacobs. The film had picked up moisture and the ink was set too quickly on press. After adjusting the dryer profile, storing stock in a drier area and rechecking the treatment level, the next run held through rub testing and carton packing. It was not a dramatic fix, just the right sequence of checks.
That is usually how adhesion issues are solved in practice. Not by changing everything at once, but by tightening one part of the process, then testing again.
A practical process for better adhesion on film packaging
For converters serving Durban, Pinetown, Prospecton, Cape Town, Gqeberha, Johannesburg and Pretoria, the best results come from a repeatable process rather than a one-off correction. Adhesion problems on films are easier to control when the team follows the same steps every time and records the outcome.
Use a short production checklist before the run, then keep the sample from the first acceptable batch. If a new roll gives trouble later, you have a reference point. Where coating compatibility is uncertain, run a small compatibility check before the full print. If the pack needs a visual effect and a security layer at the same time, check both functions together so one does not compromise the other.
- Inspect the film before printing and note any surface treatment concerns.
- Run drawdown panels and a small trial batch before the main order.
- Check adhesion after drying, after 24 hours, and after handling.
- Keep retain samples for each approved batch.
- Log line speed, humidity and temperature for every problem run.
For teams under pressure, that simple discipline saves time, reduces rework and keeps packaging moving through the plant with fewer surprises.