
What Freezer Temperatures Do to the Colour Shift
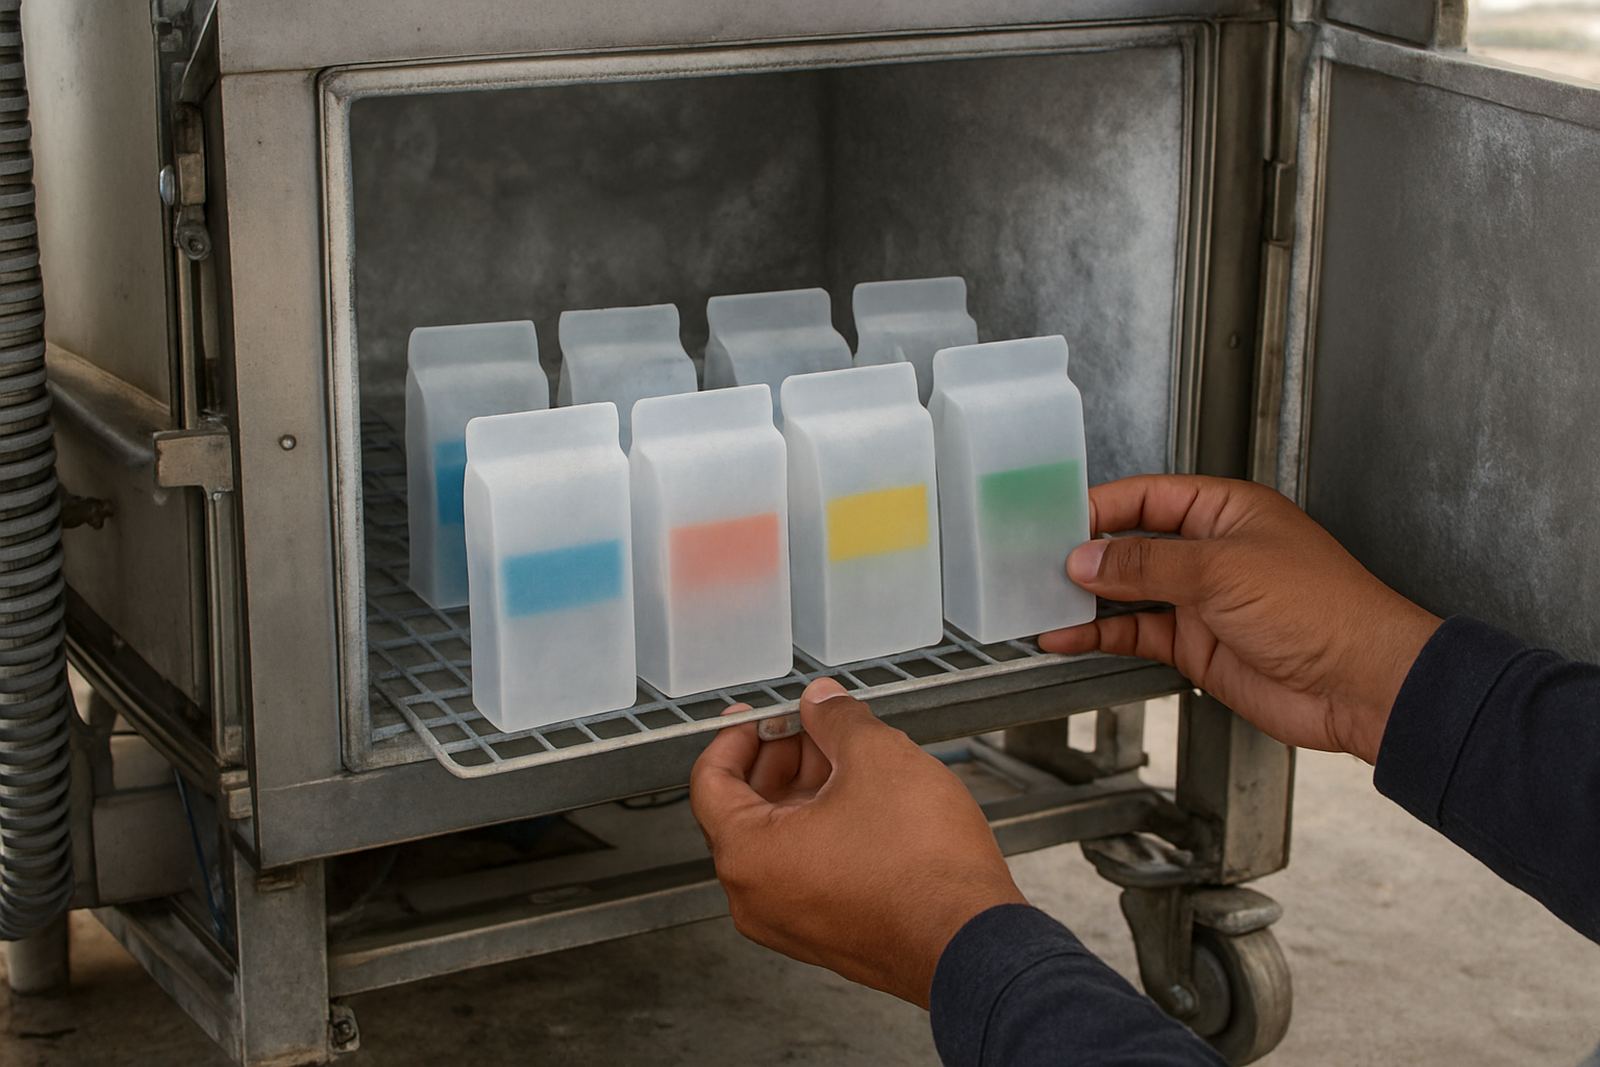
Thermochromic inks are built to change appearance at a set temperature, but freezer packaging asks a harder question than most packs do. If the trigger point is set too close to the product storage temperature, the ink may stay in one state for too long or react in a way that is difficult for the end user to read. For frozen meals, ice cream cartons, fish packs, and cold chain labels, the visual cue must still make sense after hours in a sub zero store room, a distribution truck, or a retail freezer cabinet.
In practice, the key is to match the ink threshold to the job. A pack that must warn the user that a product has warmed up during transit needs a different response from a pack that simply shows a chilled state. Our team looks at the actual temperature range, the carton or film construction, and how fast the pack moves from packing floor to freezer. In Durban's humid climate, that first stage matters a lot because moisture on the line can affect the coating before the product is ever cooled.
Condensation, Frost and the First Minutes After Packing
The biggest freezer problem is often not the cold itself, it is the change from warm air to cold storage. When a printed pack leaves a warm packing room and hits a freezer tunnel or cold store, moisture can form on the surface fast. That condensation may soften the ink layer, mark the surface, or change how the colour reads under store lighting. Frost can do similar damage if the pack enters the freezer while the surface is still wet.
To reduce this risk, converters and packers should plan the line flow properly. The coating must be dry, the substrate must be compatible, and the pack should not sit in a damp staging area. Where possible, keep the printed side away from direct wet contact until the pack has settled into the cold chain. This matters for pouches, cartons, sleeves and labels alike.
- Allow enough drying time before freezing.
- Avoid direct water spray or heavy washdown near open packs.
- Check whether the barrier layer changes once frost forms.
- Test the pack after a full freeze and thaw cycle, not only at room temperature.
Rub Resistance and Handling in Cold Stores
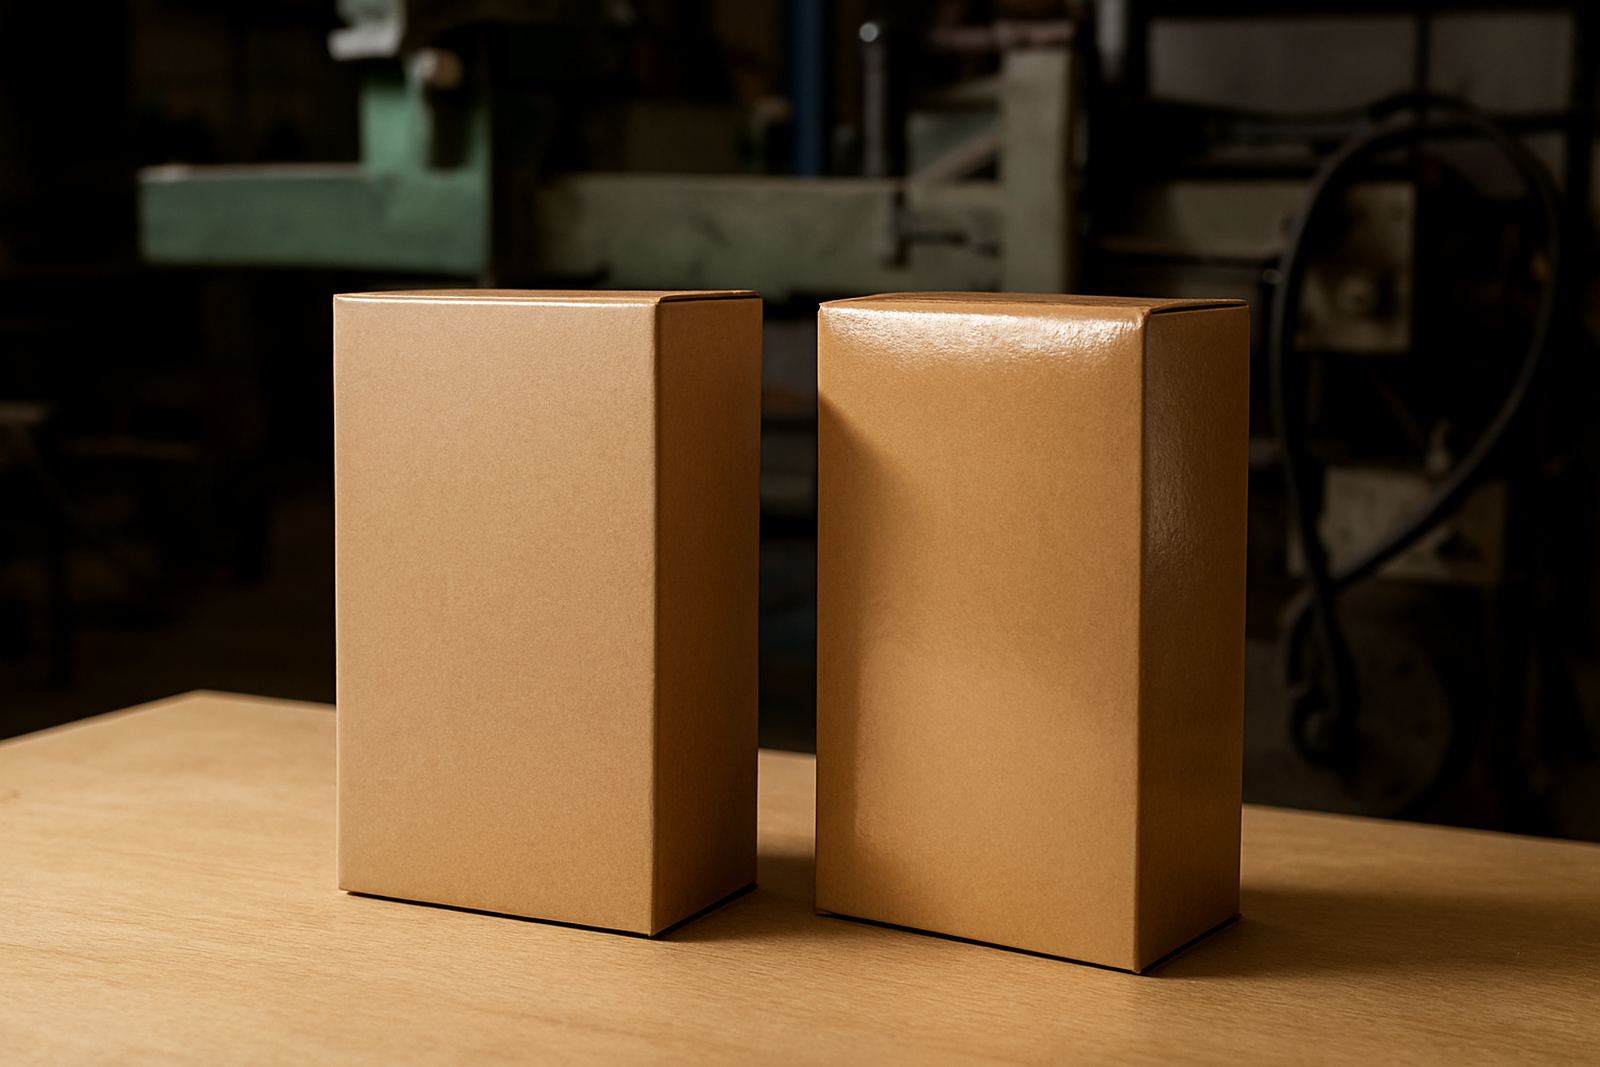
Frozen packaging is handled with gloves, stacked tightly, and moved across cold surfaces. That means rub resistance is not a nice extra, it is part of the basic job. A thermochromic layer that looks good on the sample bench may still fail when cartons are packed against each other in a warehouse in Pinetown or loaded into a cold truck for Cape Town or Johannesburg. Corners, seams and fold lines are the usual weak points.
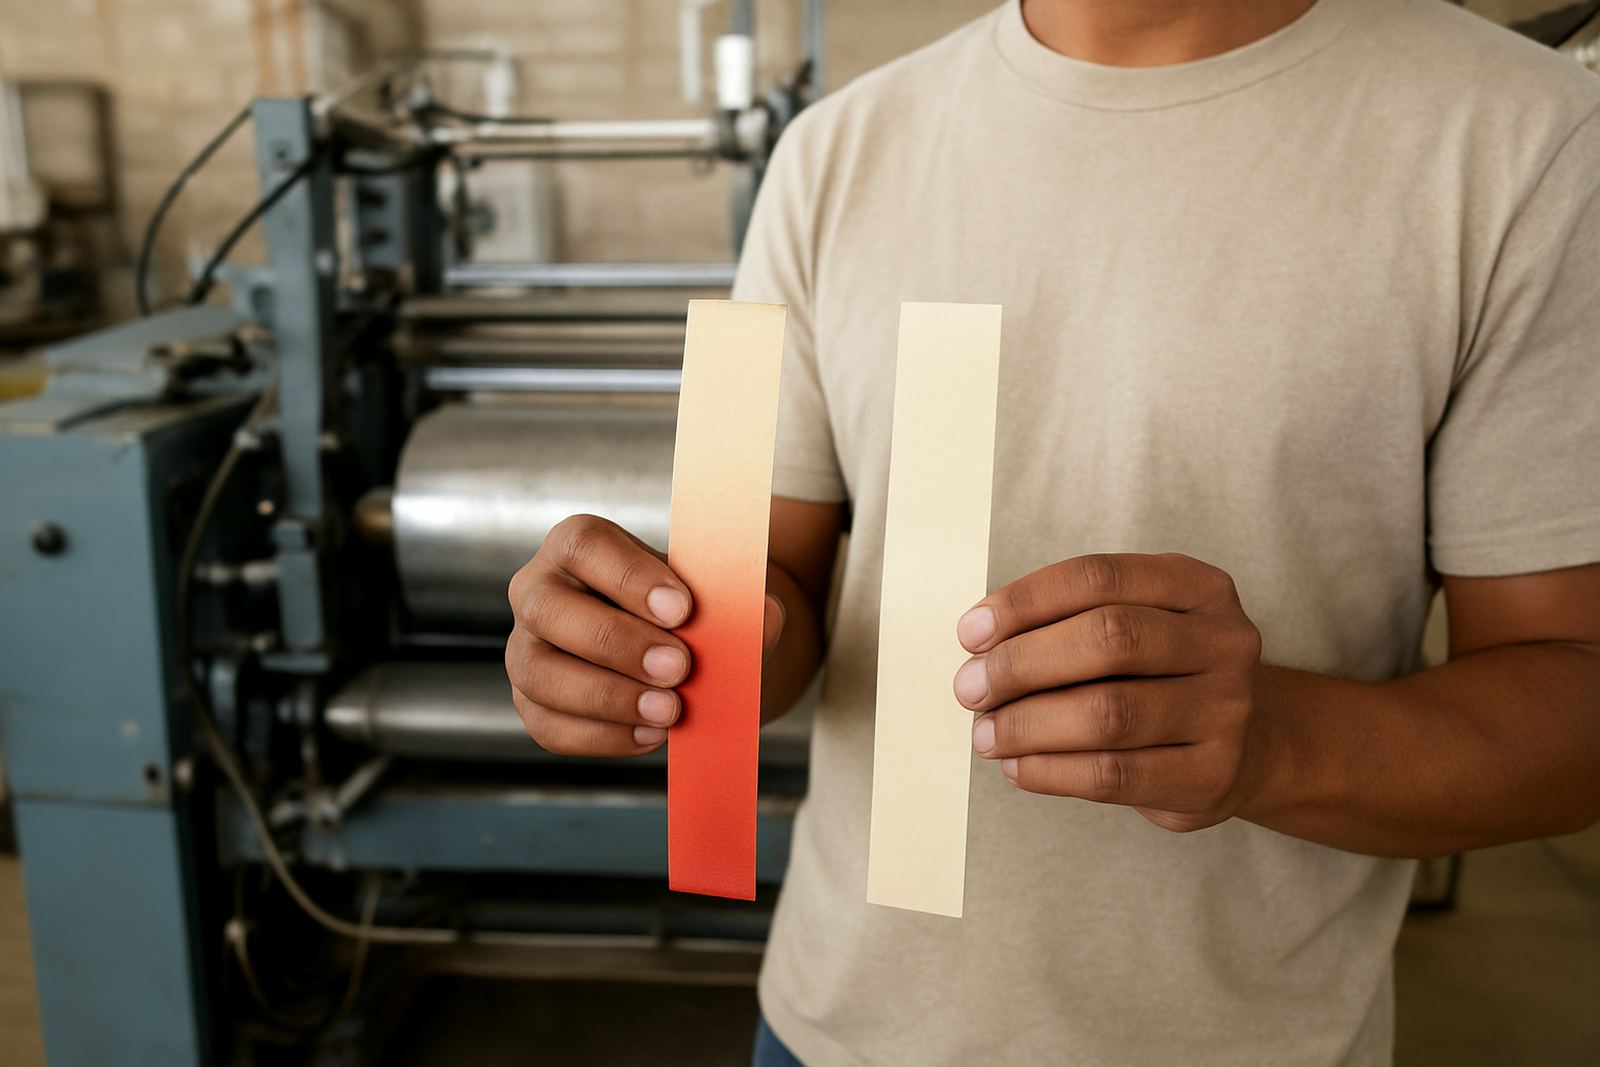
We often test by simulating the actual journey: print, cure, freeze, rub, then check whether the colour change remains clear. Adhesion also has to be checked on the final substrate, because not every board, film or laminated surface behaves the same in low temperatures. If the ink sits on a surface that gets brittle in the cold, the print can crack or dull. That is why trial batches and drawdown panels are worth doing before full production.
- Test on the exact packaging board or film used for the job.
- Include freezer stacking pressure in the trial.
- Check rub marks after cartons have been moved by hand.
- Record results for the batch retain library so the same spec can be repeated.
Food Safety, Security Marks and Practical Visibility
Many freezer packs need more than a temperature cue. They also need proof that the pack is genuine and that the printed message stays readable under low light, frost and shrink wrap. Security inks can be used alongside thermochromic features to add pattern work, hidden marks or verification areas for quality control. In frozen goods, this is useful because the pack may spend weeks in storage and still needs to be checked quickly at receiving, dispatch or retail.
Visibility is just as important. A colour change that works on a bright production floor may not be obvious in a freezer aisle with harsh white lighting. During UV verification setups and press startup support, we look at how the print reads from normal viewing distance. In some cases the right answer is a stronger contrast between the cold state and the activated state, rather than a more complex effect. Simple usually works better when the pack is frosty and the operator has only a few seconds to inspect it.
Local Example: Frozen Foods on a Durban Cold Chain
Consider a Durban seafood processor sending frozen packs through Jacobs to inland wholesalers. The product is filled in a warm, humid room, then moved to chilled holding and loaded into a refrigerated truck. By the time it reaches Pretoria, the pack has already faced temperature swings, vibration and moisture. If the thermochromic ink is not tuned properly, the pack may show the wrong state at loading or lose clarity after the first freeze.
For that kind of route, the work usually starts with coating compatibility and a few trial batch runs. The printer checks whether the print holds on the chosen board, whether the security pattern still reads, and whether the frozen pack survives movement in the truck. Jason Pillay then coordinates delivery timing so samples can be tested under real cold room conditions, not just on a warm bench in Durban. That kind of practical testing saves a lot of waste later on.
What to Decide Before You Put the Pack into Production
If you are planning freezer packaging with thermochromic ink, the main decisions should be made before plates or cylinders are committed. The temperature point, the substrate, the drying method, and the handling conditions all affect the final result. A pack that is meant for a Cape Town export freezer is not treated the same as one moving through a short local distribution run in KwaZulu-Natal.
At ThermoInk we usually work through the requirements in a fixed order so the end result is consistent across runs. That includes colour matching, adhesion testing, rub checks and, where needed, production troubleshooting on the press. If the pack has to meet a municipal waste rule, a retail compliance standard, or a cold-chain customer spec, it is better to settle those details early. Freezer performance is unforgiving, but with the right testing the print can stay clear, useful and fit for the job.
- Confirm the freezer temperature range before choosing the trigger point.
- Test condensation and frost, not only dry cold.
- Check rub resistance after full cold storage.
- Keep retained samples for repeat orders and audits.