
Why the activation point matters on the line
Thermochromic inks only do their job when the temperature shift matches the product journey. A chilled pack that should indicate safe handling at 8 to 10 degrees C needs a very different trigger from a frozen food sleeve or a warm-fill label that must react after packing but before the pack reaches the shelf.
On a South African production floor, that choice affects more than the graphics. It influences how the ink behaves during sealing, drying and stacking, especially where lines run in hot rooms or where coastal humidity in places like Jacobs and Prospecton changes drying times through the day. Get the activation point wrong and the indicator can change too early, too late, or not at all.
The best starting point is the real product temperature, not the target on the spec sheet. Measure what happens in the packhouse, in the chilled truck and at retail handover. Then choose the range that gives a clear visual cue exactly when it is needed.
Chilled packs need a narrow, useful window
For chilled goods, the ink must respond at a range that is close enough to the cold chain event to be meaningful. Dairy, fresh juices, prepared meals and some pharmaceutical packs often need a narrow threshold because a wide range can leave too much room for interpretation.
A good chilled indicator should be easy to read from a short distance and still hold its colour change long enough for the consumer to notice. If the change fades too fast after removal from cold storage, the message may be lost before the pack reaches the fridge at home. That is where threshold tuning becomes important.
We often see chilled applications tested at more than one condition so the result can be checked under realistic use:
- cold room storage at about 4 to 6 degrees C
- loading bay exposure during dispatch and receiving
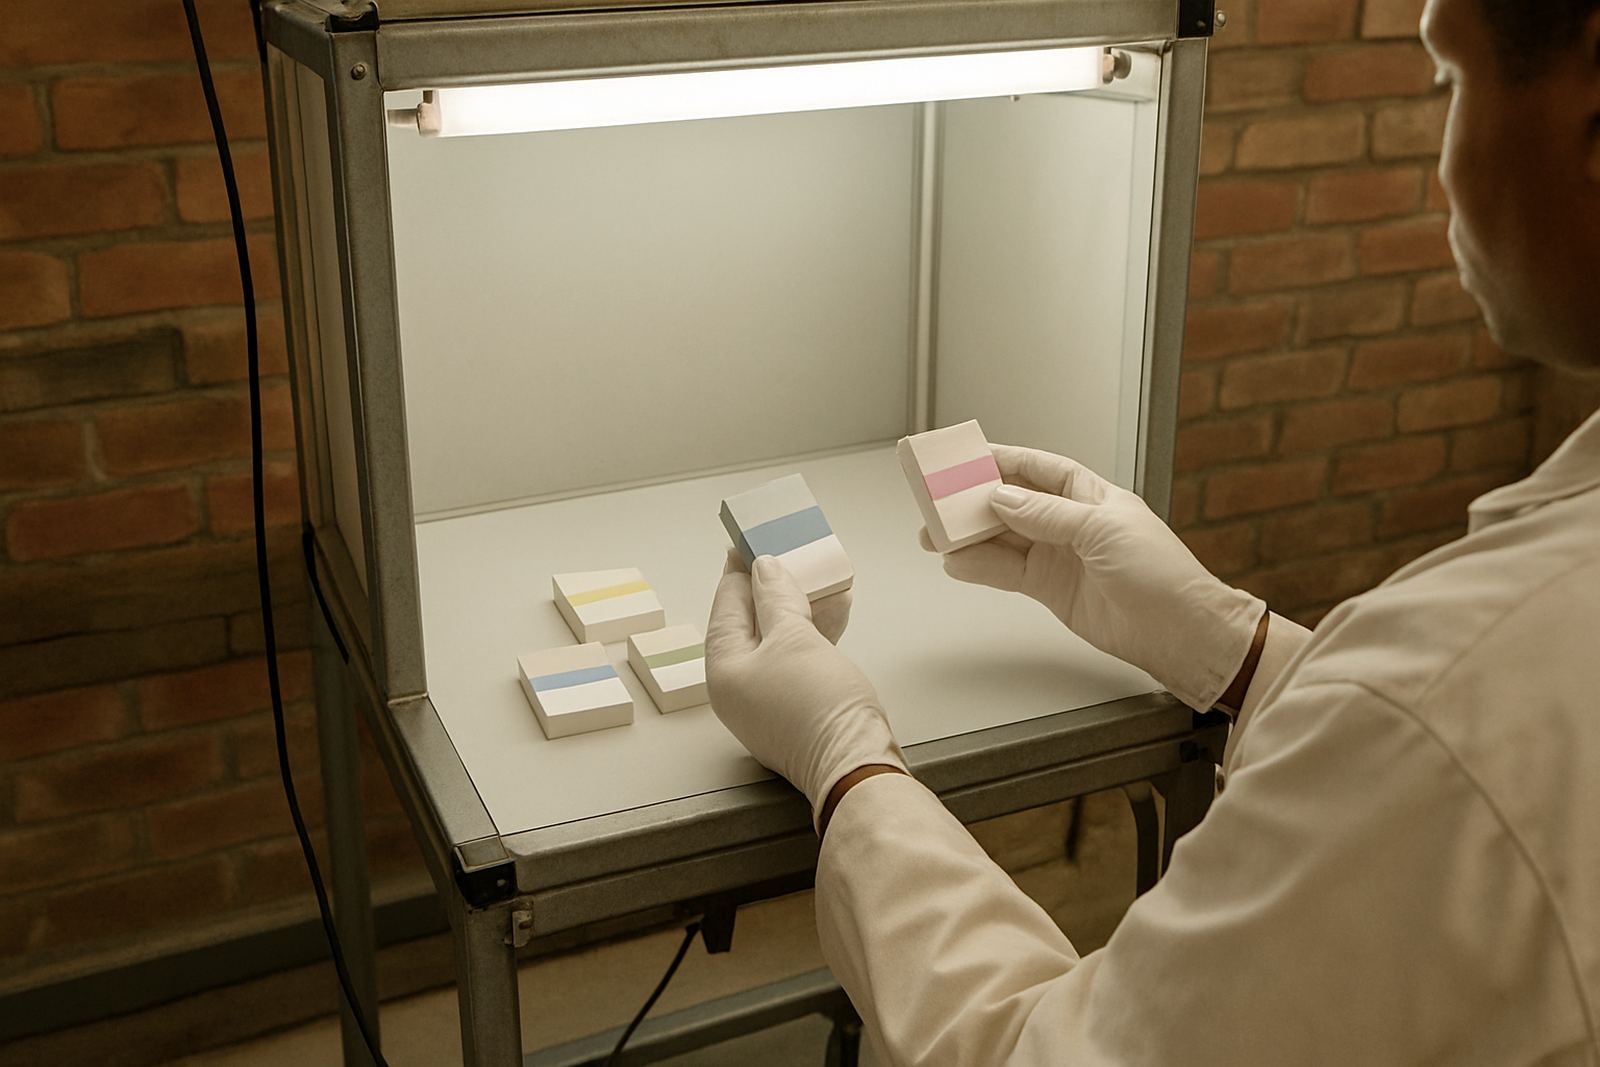
- short retail display periods under mixed lighting
The aim is not only visual appeal. It is to give a clear signal that supports handling without creating confusion for the consumer or the QA team.
Frozen products require a different approach again
Frozen applications are less about a simple colour shift and more about reliability under extreme cold. A pack moving through blast freezing, cold storage and frozen transport may sit far below zero for long periods, so the indicator must stay stable until the intended warming point is reached.
Many frozen packs are handled with gloves, moved on metal trolleys and exposed to condensation when doors open. That means the coating must be tested for adhesion and rub resistance as well as activation temperature. If the print scuffs off in a freezer store, the indicator loses credibility even if the chemistry is correct.
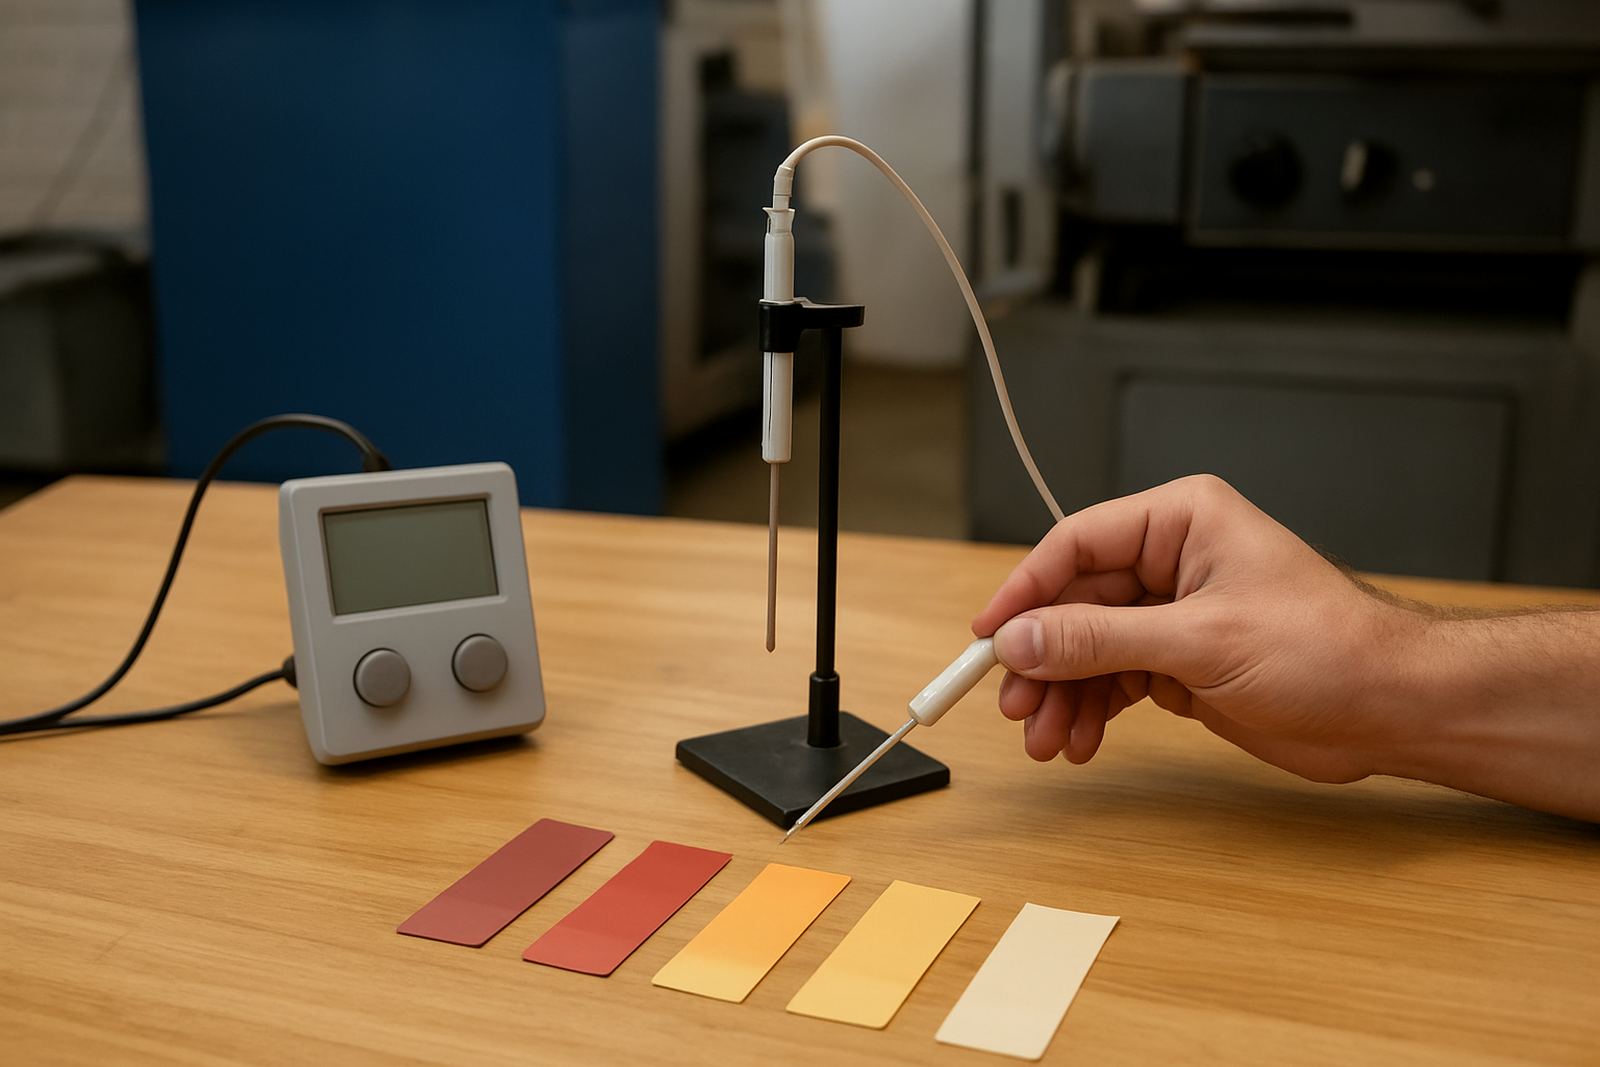
For this reason, frozen work usually needs trial batch making, drawdown panels and production troubleshooting before full run approval. On a busy line it is better to find a weak point in a small test than after several thousand packs have been printed and converted.
Warm applications need control, not just colour
Warm-fill products and heat-sensitive packs present a different challenge. The ink may need to show when a surface has reached a certain point after filling, sealing or pasteurising, but not react during normal storage or transit in a KwaZulu-Natal summer. That is where the selection has to be tight.
If the activation point sits too close to ambient temperature, a pack standing in a non-air-conditioned warehouse may trigger before it should. If it sits too high, it may never activate in real use. Our production checks normally include coating compatibility, adhesion tests and UV verification setups when the pack has other print layers around it.
- confirm the highest surface temperature on the line
- check how long the pack remains above that point
- test whether the visual change is clear on the final substrate
Warm applications often benefit from batch retain library records as well, so the same result can be repeated when the next order comes through.
Substrate, coating and ink layer all affect the result
Temperature range is only one part of the story. A thermochromic system can behave differently on laminated cartons, shrink sleeves, flexo-printed films or coated labels. Absorption, drying rate and topcoat choice can change the effective trigger point by a few degrees, which is enough to matter in production.
That is why colour matching and coating compatibility work go hand in hand. A sample that looks right on a drawdown panel may behave differently once it is printed on a busy converter line with faster drying, different tension or a second pass through a curing unit. Small changes in film thickness can also shift the timing by a bit, and sometimes by more than expected.
For packaging converters, the practical move is to test the exact substrate, not a similar one. Even two white films that look identical in the yard can give different results after sealing, stacking or pallet wrap exposure. It is a nuisance, but it saves a lot of rework later.
Security inks and temperature cues work better together
In some packaging formats, the temperature cue is only part of the message. A product that needs consumer confidence may also need security pattern design, hidden verification features or a check that proves the print is genuine. That matters where high-value goods, regulated products or export packs move through multiple hands.
Used together, a temperature indicator and a security print layer can help converters give brand owners one pack with two functions. One layer helps the user see if the pack has been handled under the right conditions. The other helps protect against copying or unauthorised replacement.
For this to work properly, both elements must be planned from the start. A late change to the artwork, varnish or conversion method can interfere with either the colour response or the security detail.
A Durban example that shows why testing matters
Consider a chilled dairy pack moving out of Jacobs on a humid morning, heading to Pinetown and then inland. The pack may leave a cool store, pass through a hot loading area and arrive at a retailer after a few hours on the road. If the indicator is set only for cold-room conditions, it may give the wrong impression by the time the truck is unloaded.
In that kind of route, the right activation temperature is chosen after trial batch making, press startup support and practical checks on the converted pack. Jason Pillay may coordinate the distribution side, while the production team checks whether the printed result still reads properly after transport, stacking and exposure to humid air.
That local reality is why temperature range basics are never just theory. Durban conditions, inland heat and long delivery routes all influence what the customer actually sees when the pack reaches the shelf.